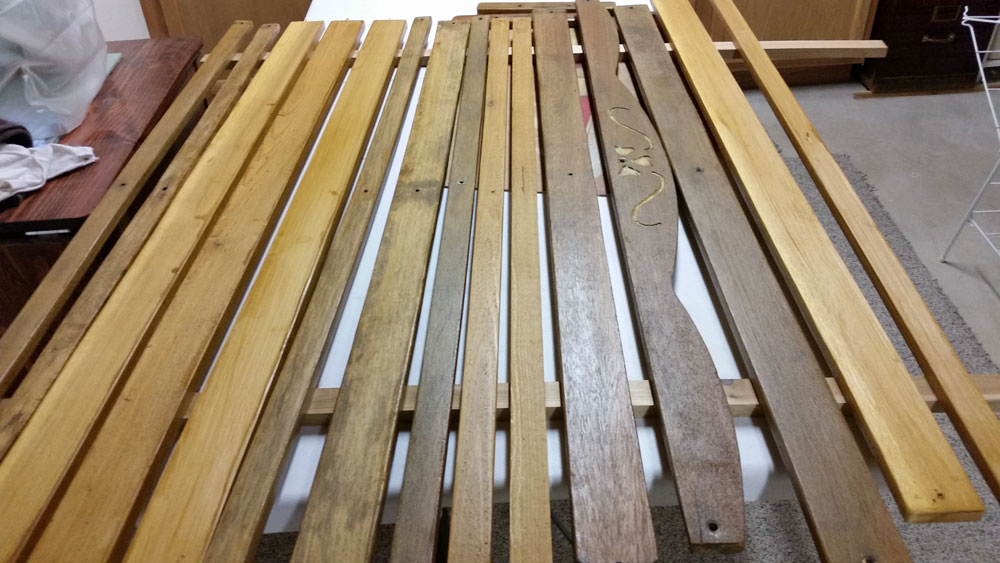
Well! So far, so good. No doubt you read the recent post about the start of the glider bench project. The bench needed some woodworking, which has now been completed. You can see the finished slats waiting for the final cure in the photo on the right.
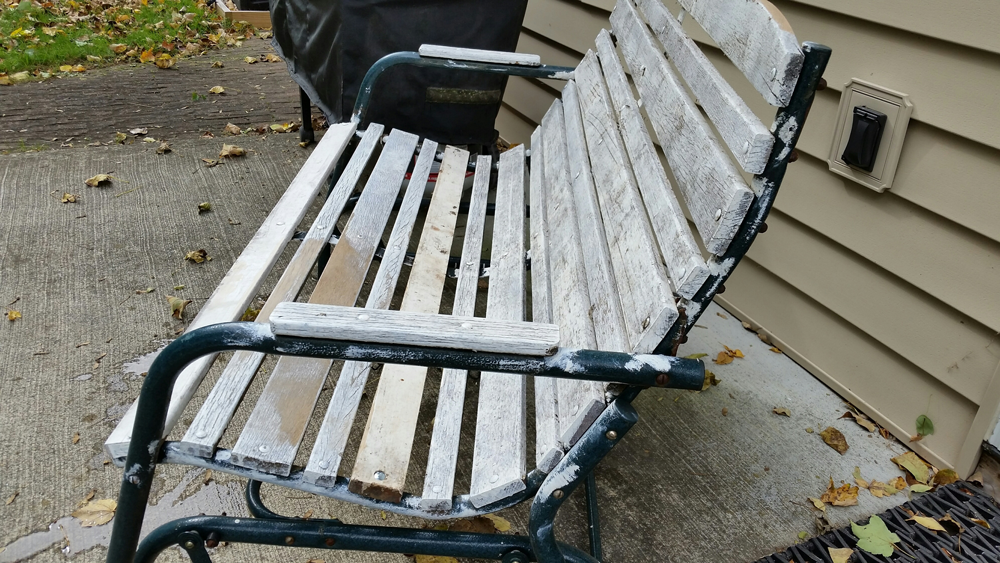
The consensus is that the original slats are locust, and you can see them in the photo as the darker ones. They feature very long grain and are rather heavy. Because several had bad ends, we had to replace them with cedar. Locust is not available locally.
Cedar is a good choice for a furniture piece that will be outdoors and could get wet. However, it tends to splinter easily. We lost two or three new slats when the sandpaper in the sander caught a splinter and the wood shredded. We also had a very tough time finding cedar that wasn’t loaded with knots.
We sanded the surfaces of the old slats to remove the messy white paint and old, original, finish. They came out very nicely, and it was a quick job with a belt sander. The new slats were briefly touched with an orbital sander to smooth the main surfaces a bit and to round over the edges a little.
The final finish is a clear coat outdoor product that we used on another bench renovation project last year. It gives a light golden glow to the wood, sort of like varnish, and is very rugged. It is easy to apply and looks great. It is formulated for outdoor wood decks and furniture.
The next step is to deal with the metal tubing. I will report soon about that.