
I realized that I needed some sort of carpenter’s bench and was stuck as to what to do about it. A common type of workbench from the “old days” was the shaving bench. It was similar in design to a cobbler’s bench, but had a lever-action “head” that functioned as a foot-activated clamp. Shaving (or “shave”) benches are used when making spindles and spokes.
I certainly don’t need a shaving bench as I am not planning to make chairs or wagon wheels, but a bench based on that sort of design should be very handy when I am working on other projects. The photo on the right shows my finished carpenter’s bench. My favorite part is that it folds up so that it can be stored away.
The bench is made from a 2×12 KD pine board for the top and legs, and a 2×6 KD pine board for the spreader. The legs are attached to the top using heavy duty commercial spring-loaded hinges. The spring-loaded hinges allow the legs to fold and stay folded against the underside of the top.
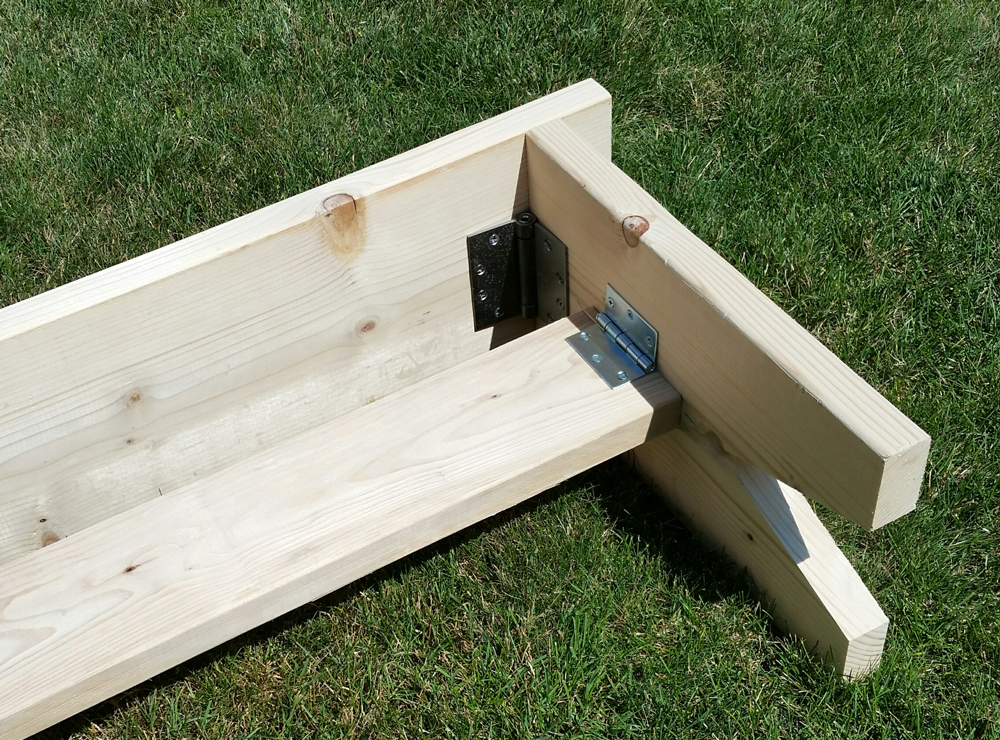
Heavy duty 2″ broad hinges with slip-pins are used to attach the 2×6 spreader to the legs. Knock out the slip-pins and the legs fold up. Easy-peasy! You can see the underside of the bench with the hinges in the photo on the right.
This sort of hinge arrangement is typical of theatrical set design. Most benches of this type would never be “practical” if they were used as props or scenery. However, this bench is fully intended to be used, so the heavy duty hinges are a must. On stage we would probably use 2″ loose-pin backflap hinges, but you don’t find those at Home Depot!
The top is 4′ long. The bench is 20″ high, which makes it very comfortable. The legs are inset 2″ from the ends of the bench. I have V-cut the legs to stability, and there’s a little decorative round cut at the point of the V, as you can see in the top photo if you look carefully. I routed the upper edges of the top on all four sides using a round-over bit. That makes the edges a little less aggravating when sitting on the bench.
You can save a couple of bucks by using heavy duty door hinges or large broad hinges instead of the spring-loaded models I used. I have in mind a way to attach the spreader to the folded legs using additional hinges. This would keep all the part together when the bench is in storage or when it is in the back of the truck. But, I will have to go back to the store for more hinges to add that feature.
All in all, I think it came out rather nicely. It took a mere 90 minutes to assemble.