Facebook followers know that I have recently been working on some CD players that I have acquired periodically over the last several months. Many of these non-working machines need nothing more that a new belt or two to get them back into first-class shape. Because I have been asked about how belts are changed, I have made this post featuring my most recent experience.
NOTE: This is NOT meant to be a tutorial. This is a story of what I did to fix a player. If you try to work on your own machine, be very careful and take care because the steps outlined here may not apply.
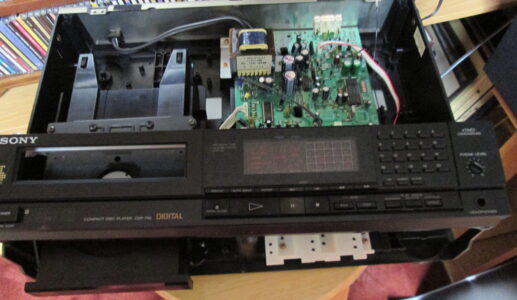
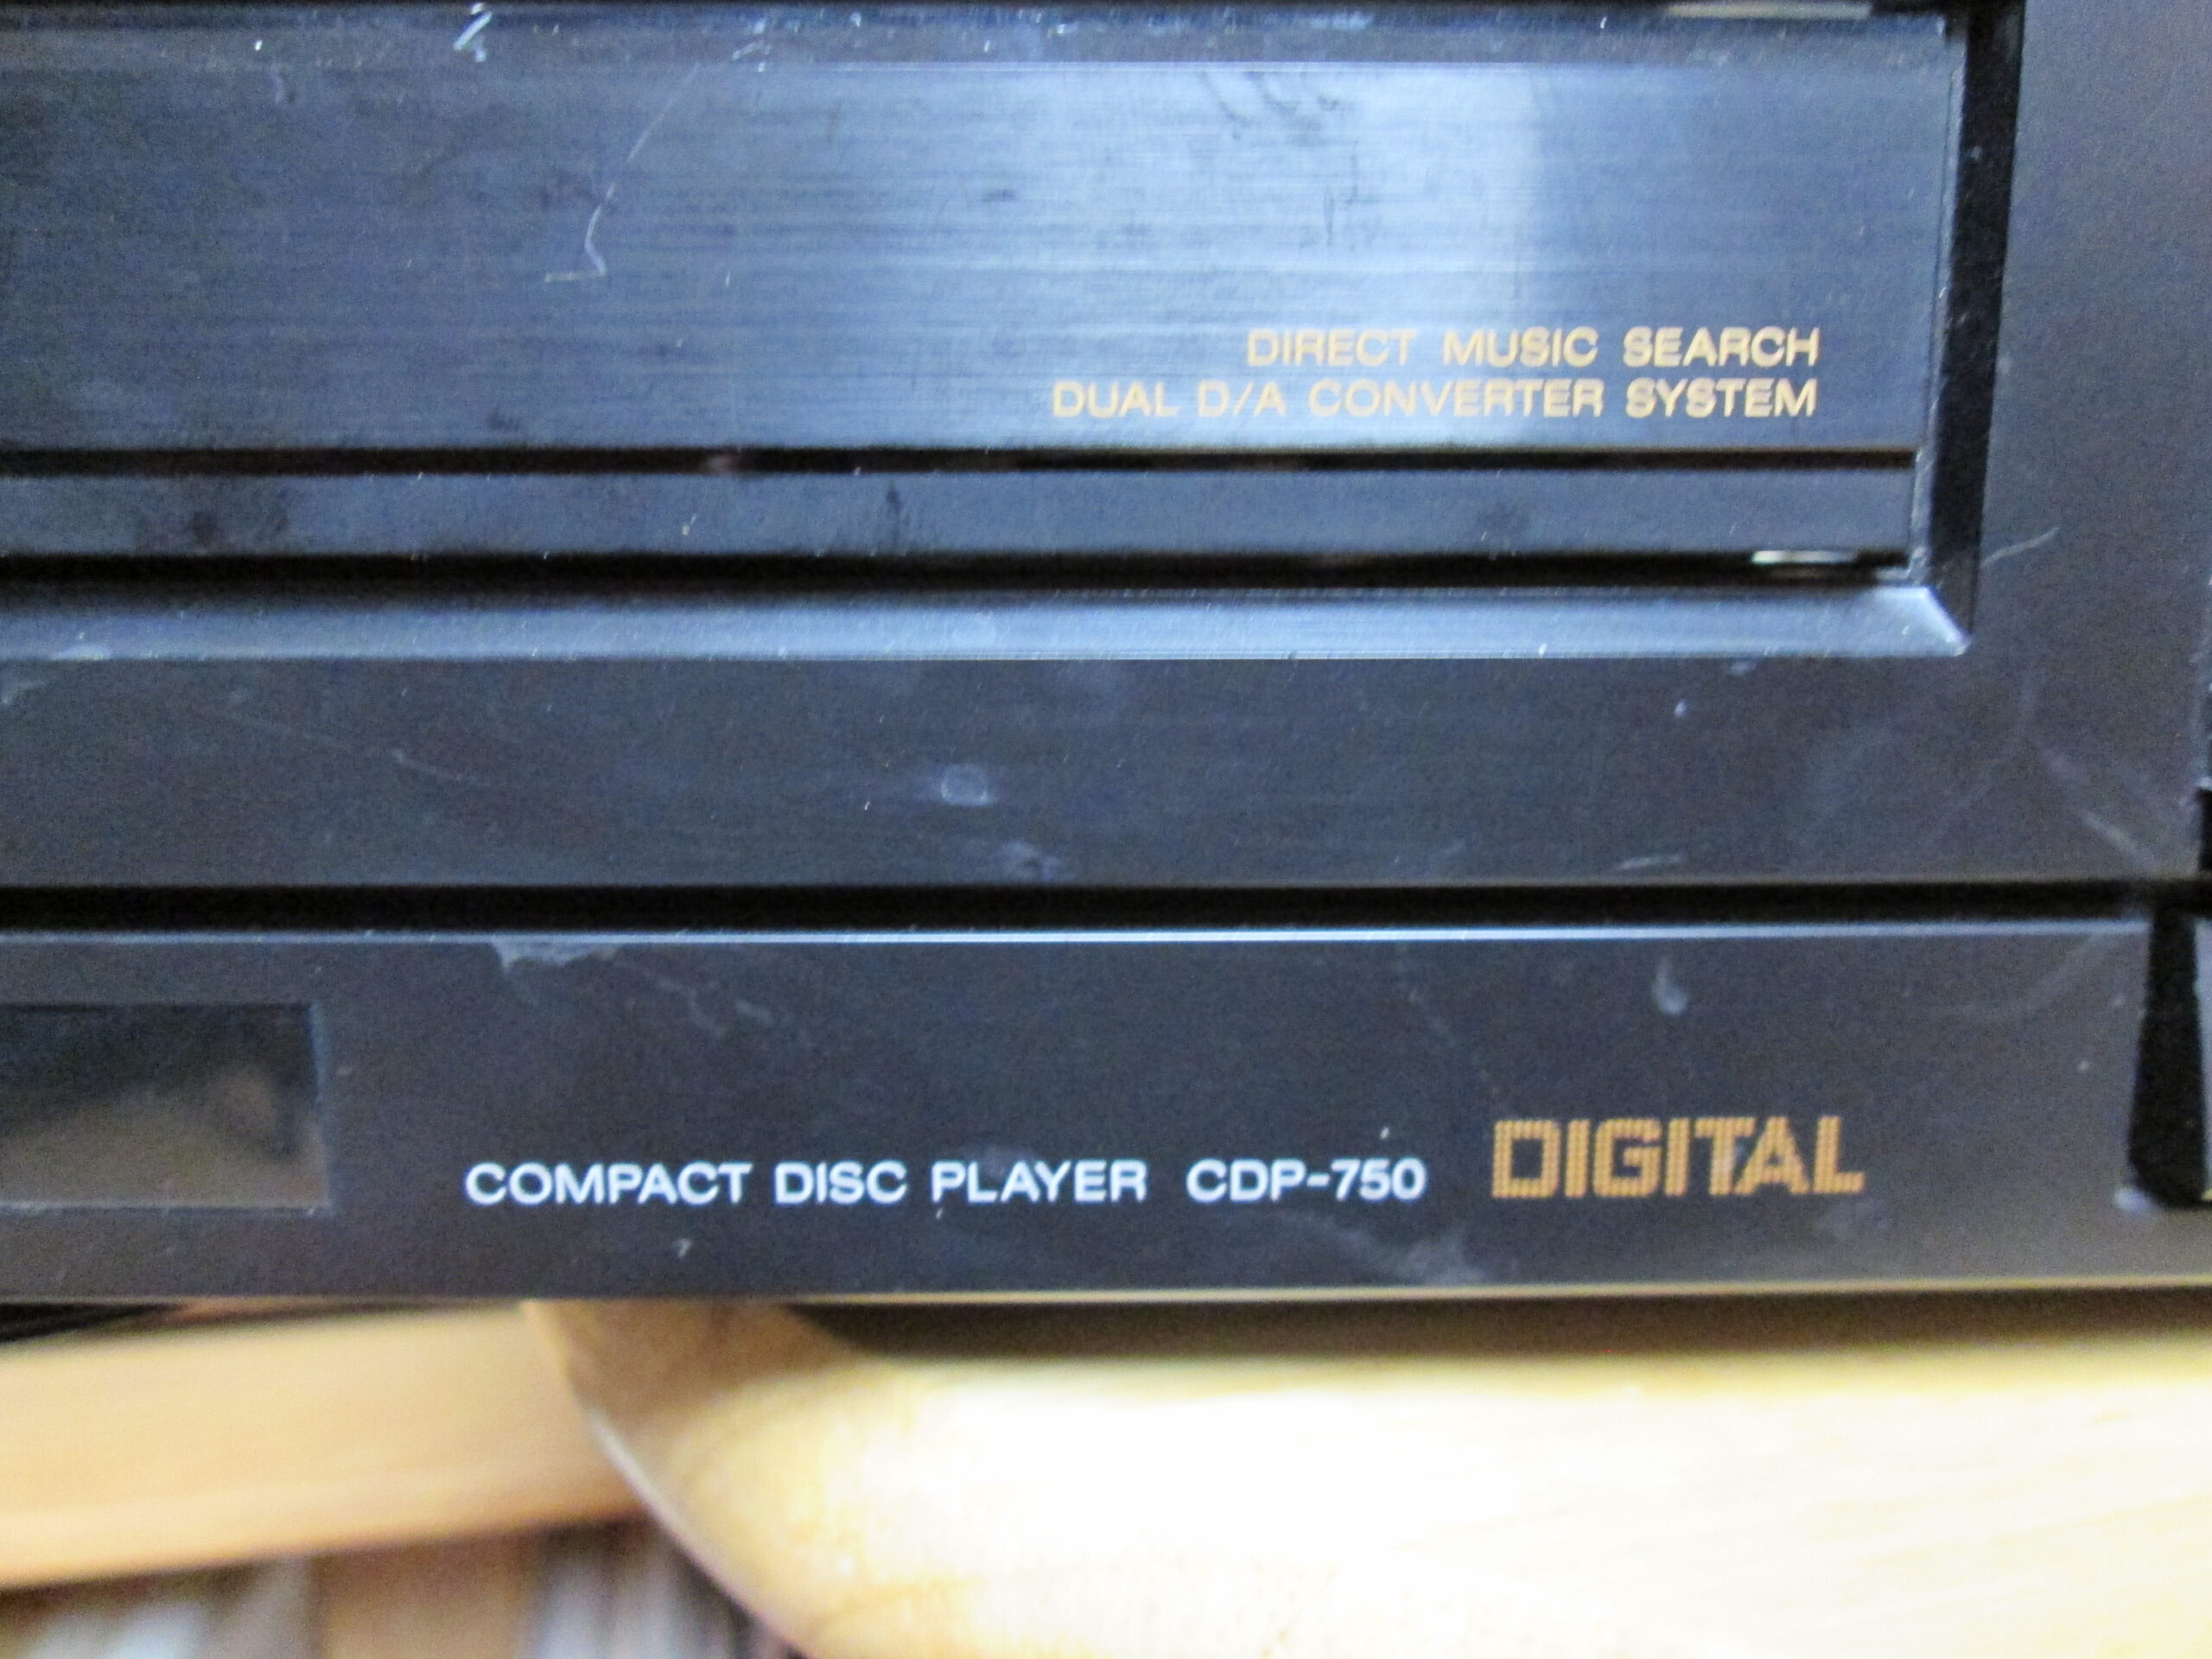
The CD player here is a Sony CDP-750 from the 1980s. When I got it the drawer did not open or close and it made strange noises. One of the problems turned out to be nothing more than the drawer mechanism “jumping its gears” and required some fiddling to reset the parts in their proper relationships.
PDF copies of official service manuals are often available from a manufacture’s Web site. There are usually other sources online from which you can download a service manual. Such manuals are very useful, in part because they have exploded-view diagrams of the machines. Sometimes actual paper copies can be purchased on eBay.
In the photo on the right we see what the interior of the CDP-750 looks like with the cover removed. The black box thing on the left side of the picture is the combination drawer and CD drive mechanism. The green circuit board on the right side of the picture has a power supply section and the amplifier section. I suggest using caution when removing screws because some may look similar but have different threads. Make sure you don’t mix any of them up.
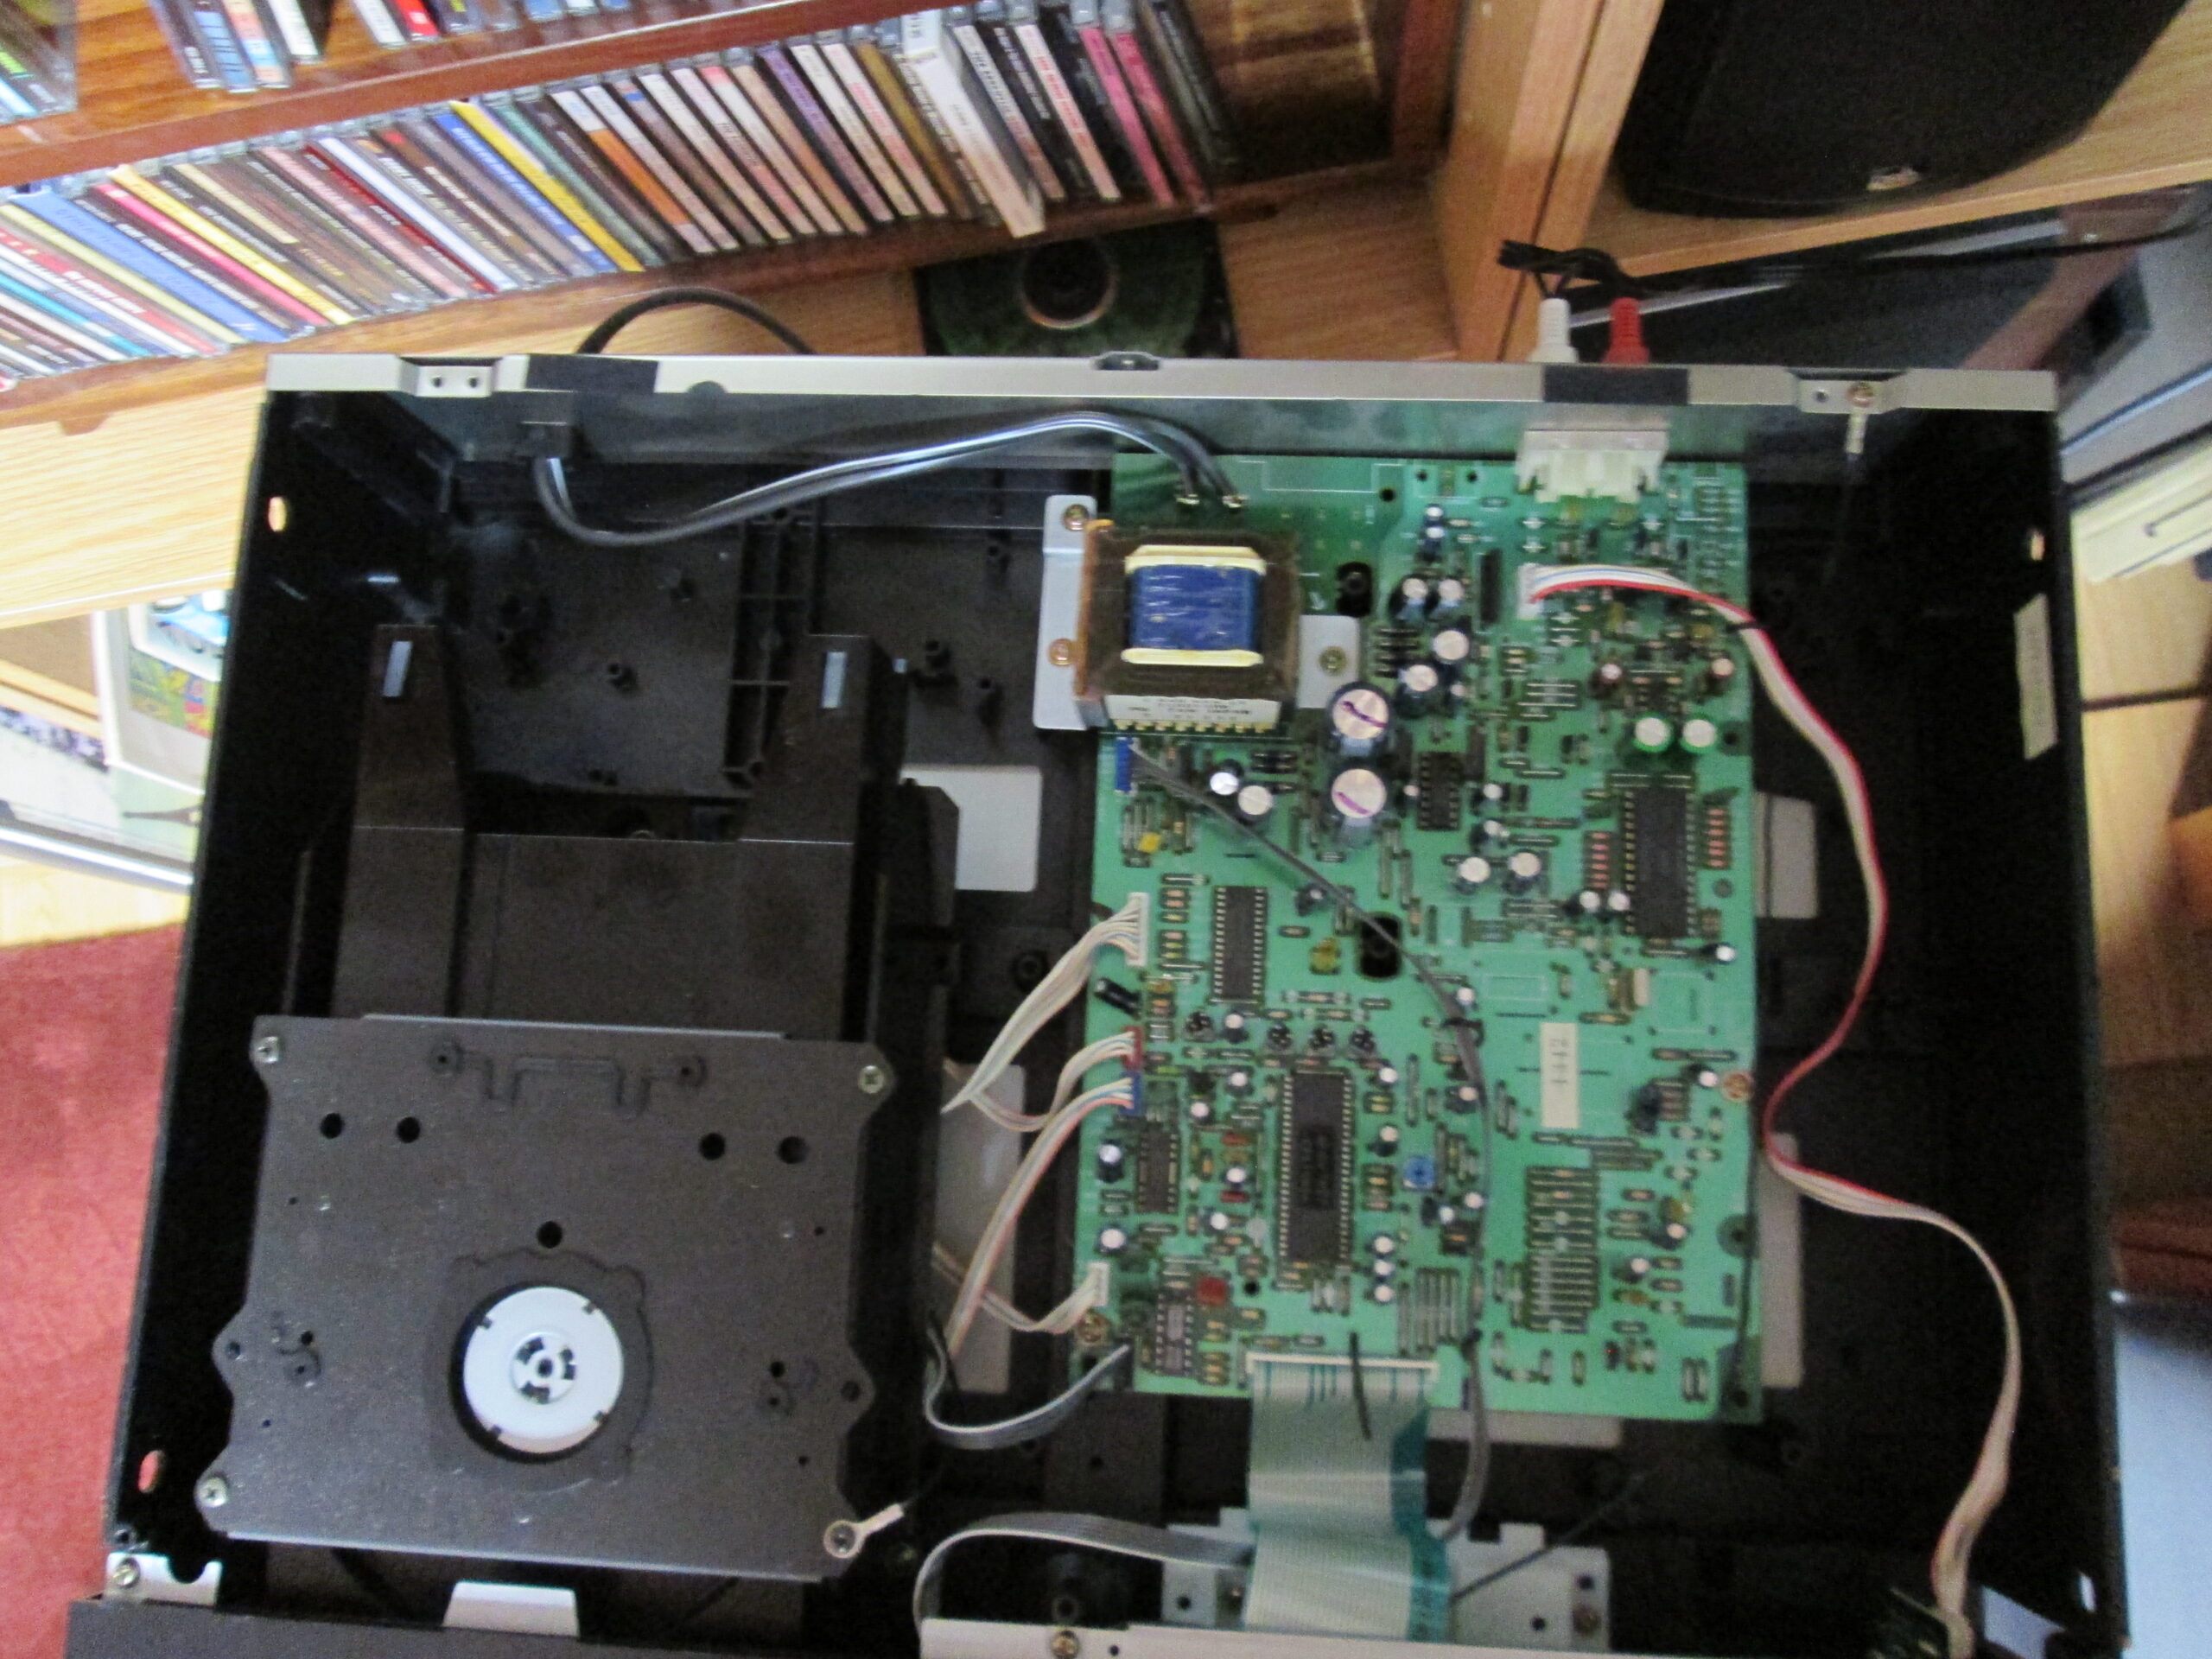
Many, if not most, CD player manufacturers are well aware that the internal best may need to be replaced at one time or another. Some machines have a small panel or hatch on the bottom that can be opened to gain access to the belt or belts. However, in the case we have to removed the front panel of this player.
On the right you can see that the front panel has been unscrewed and carefully placed on top of the player housing. I did not want to disconnect the cables, so extreme care had to be taken so that nothing got damaged.
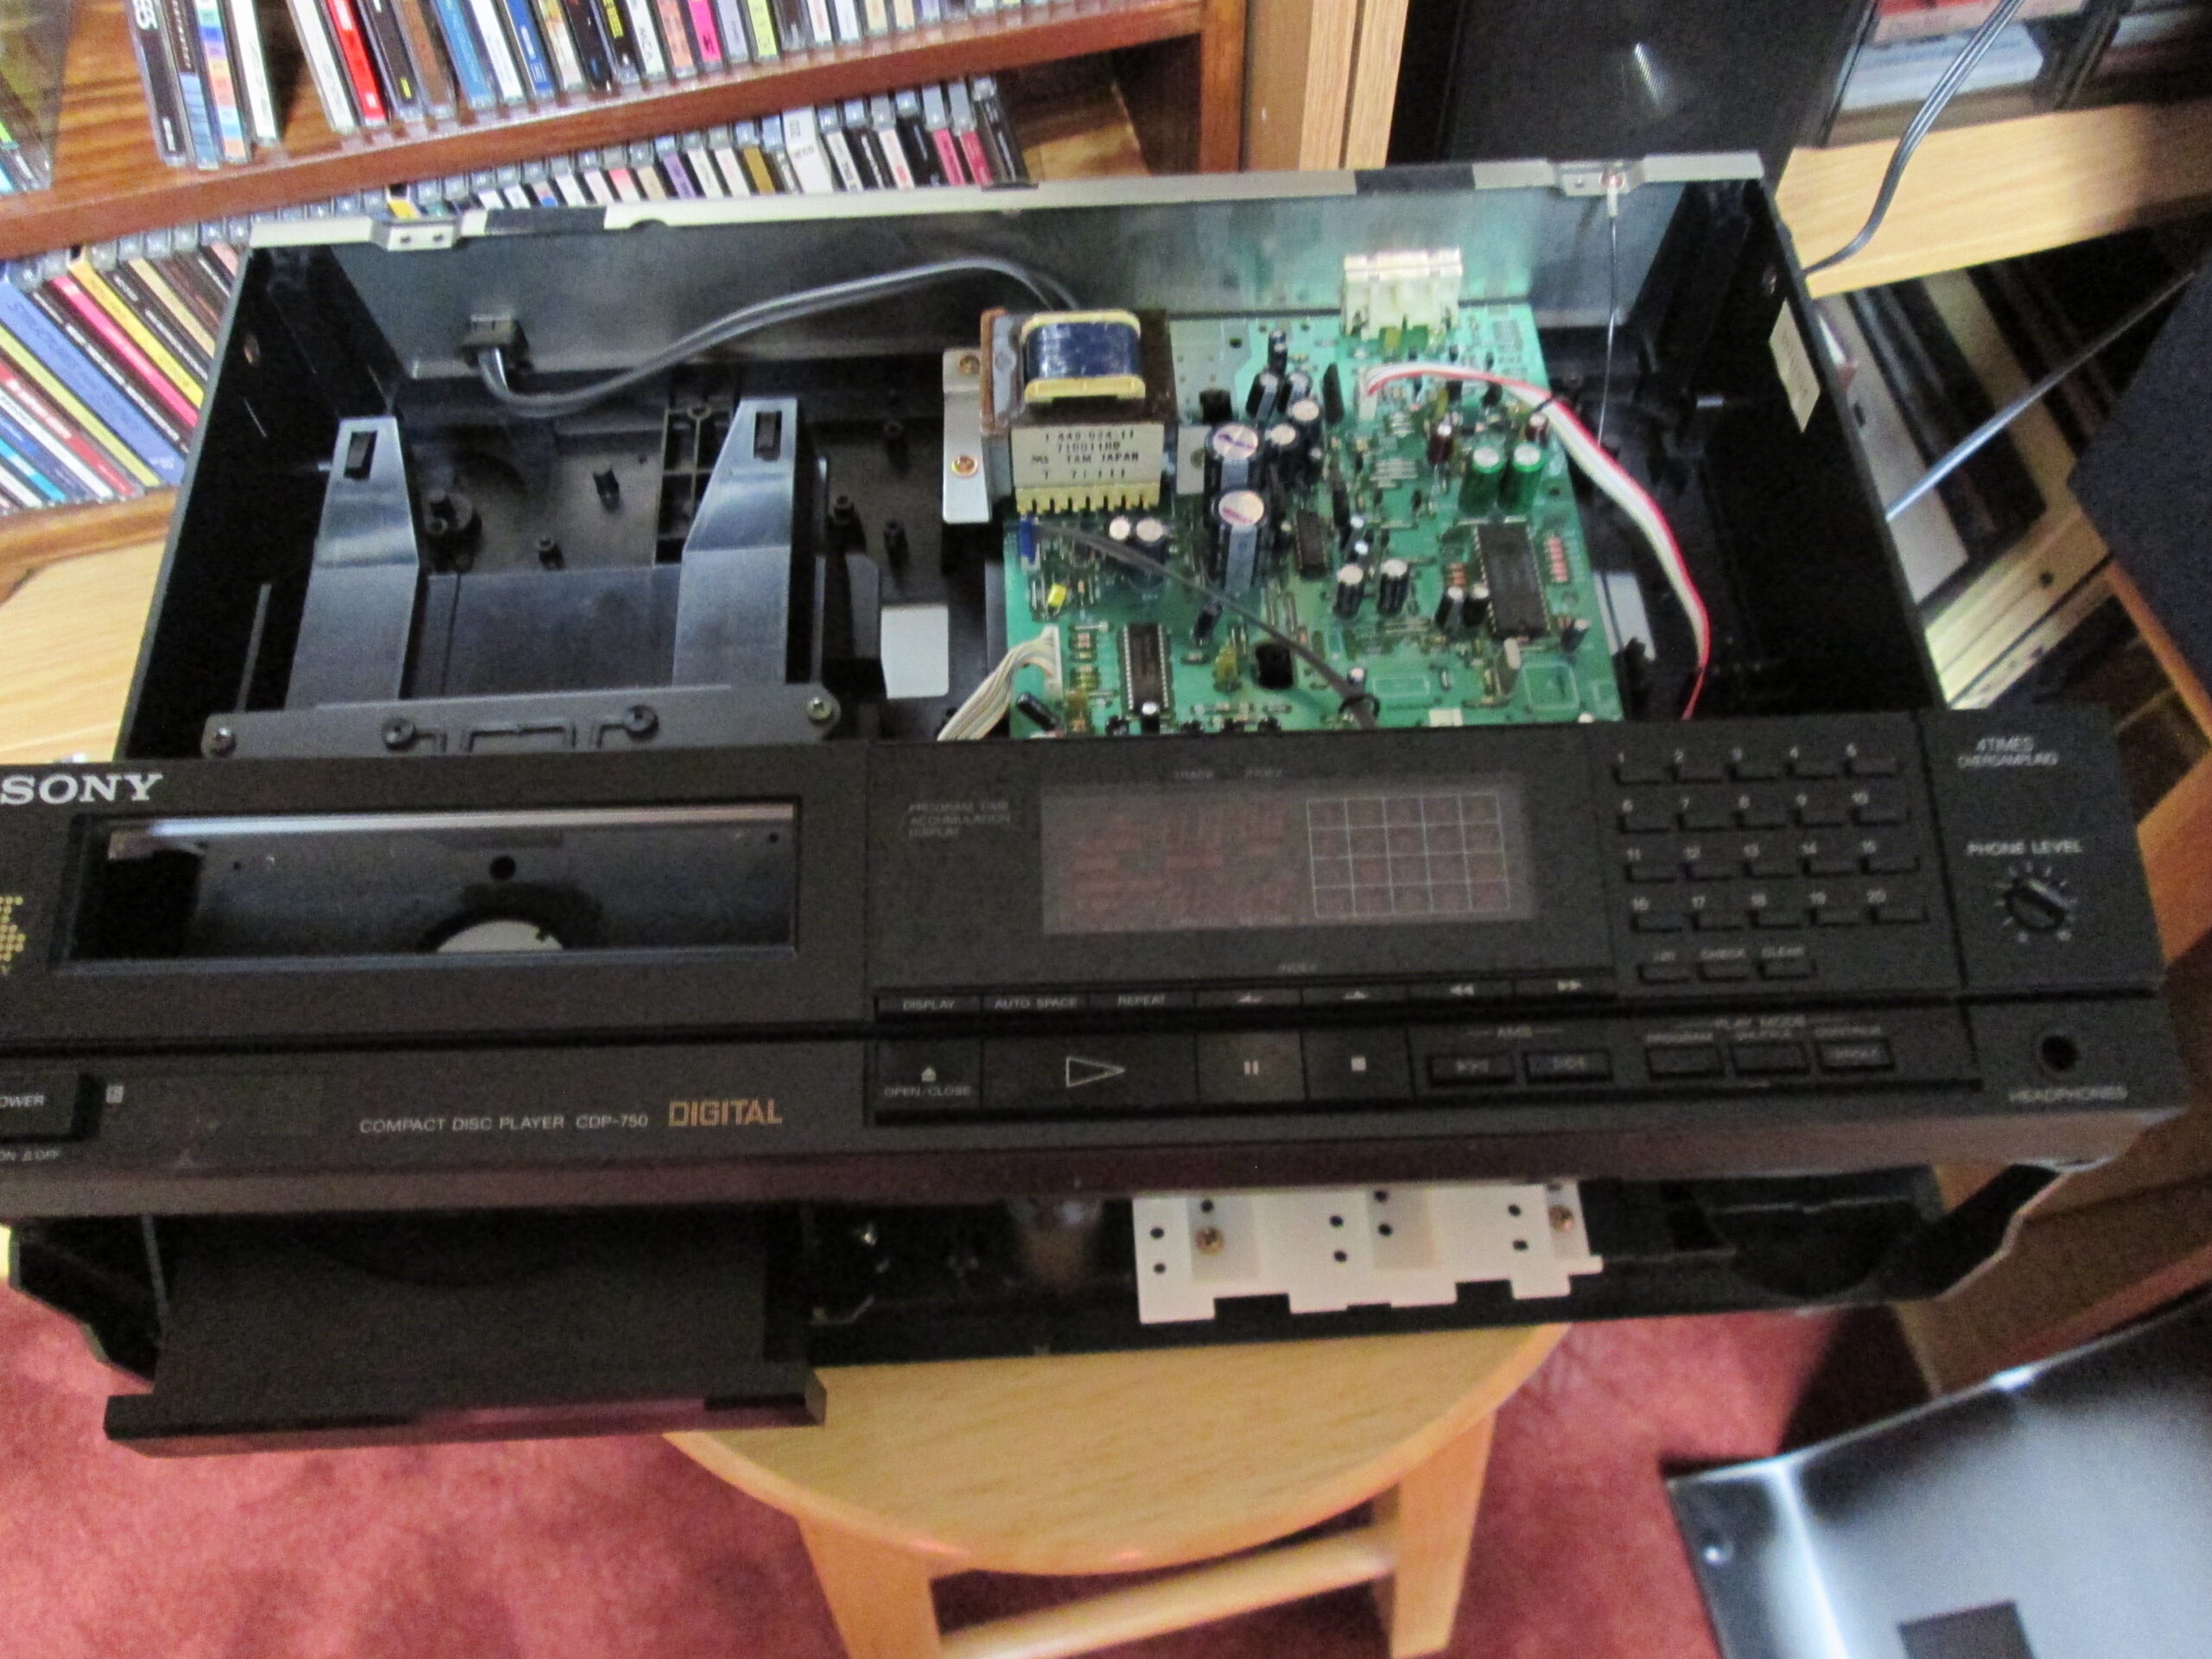
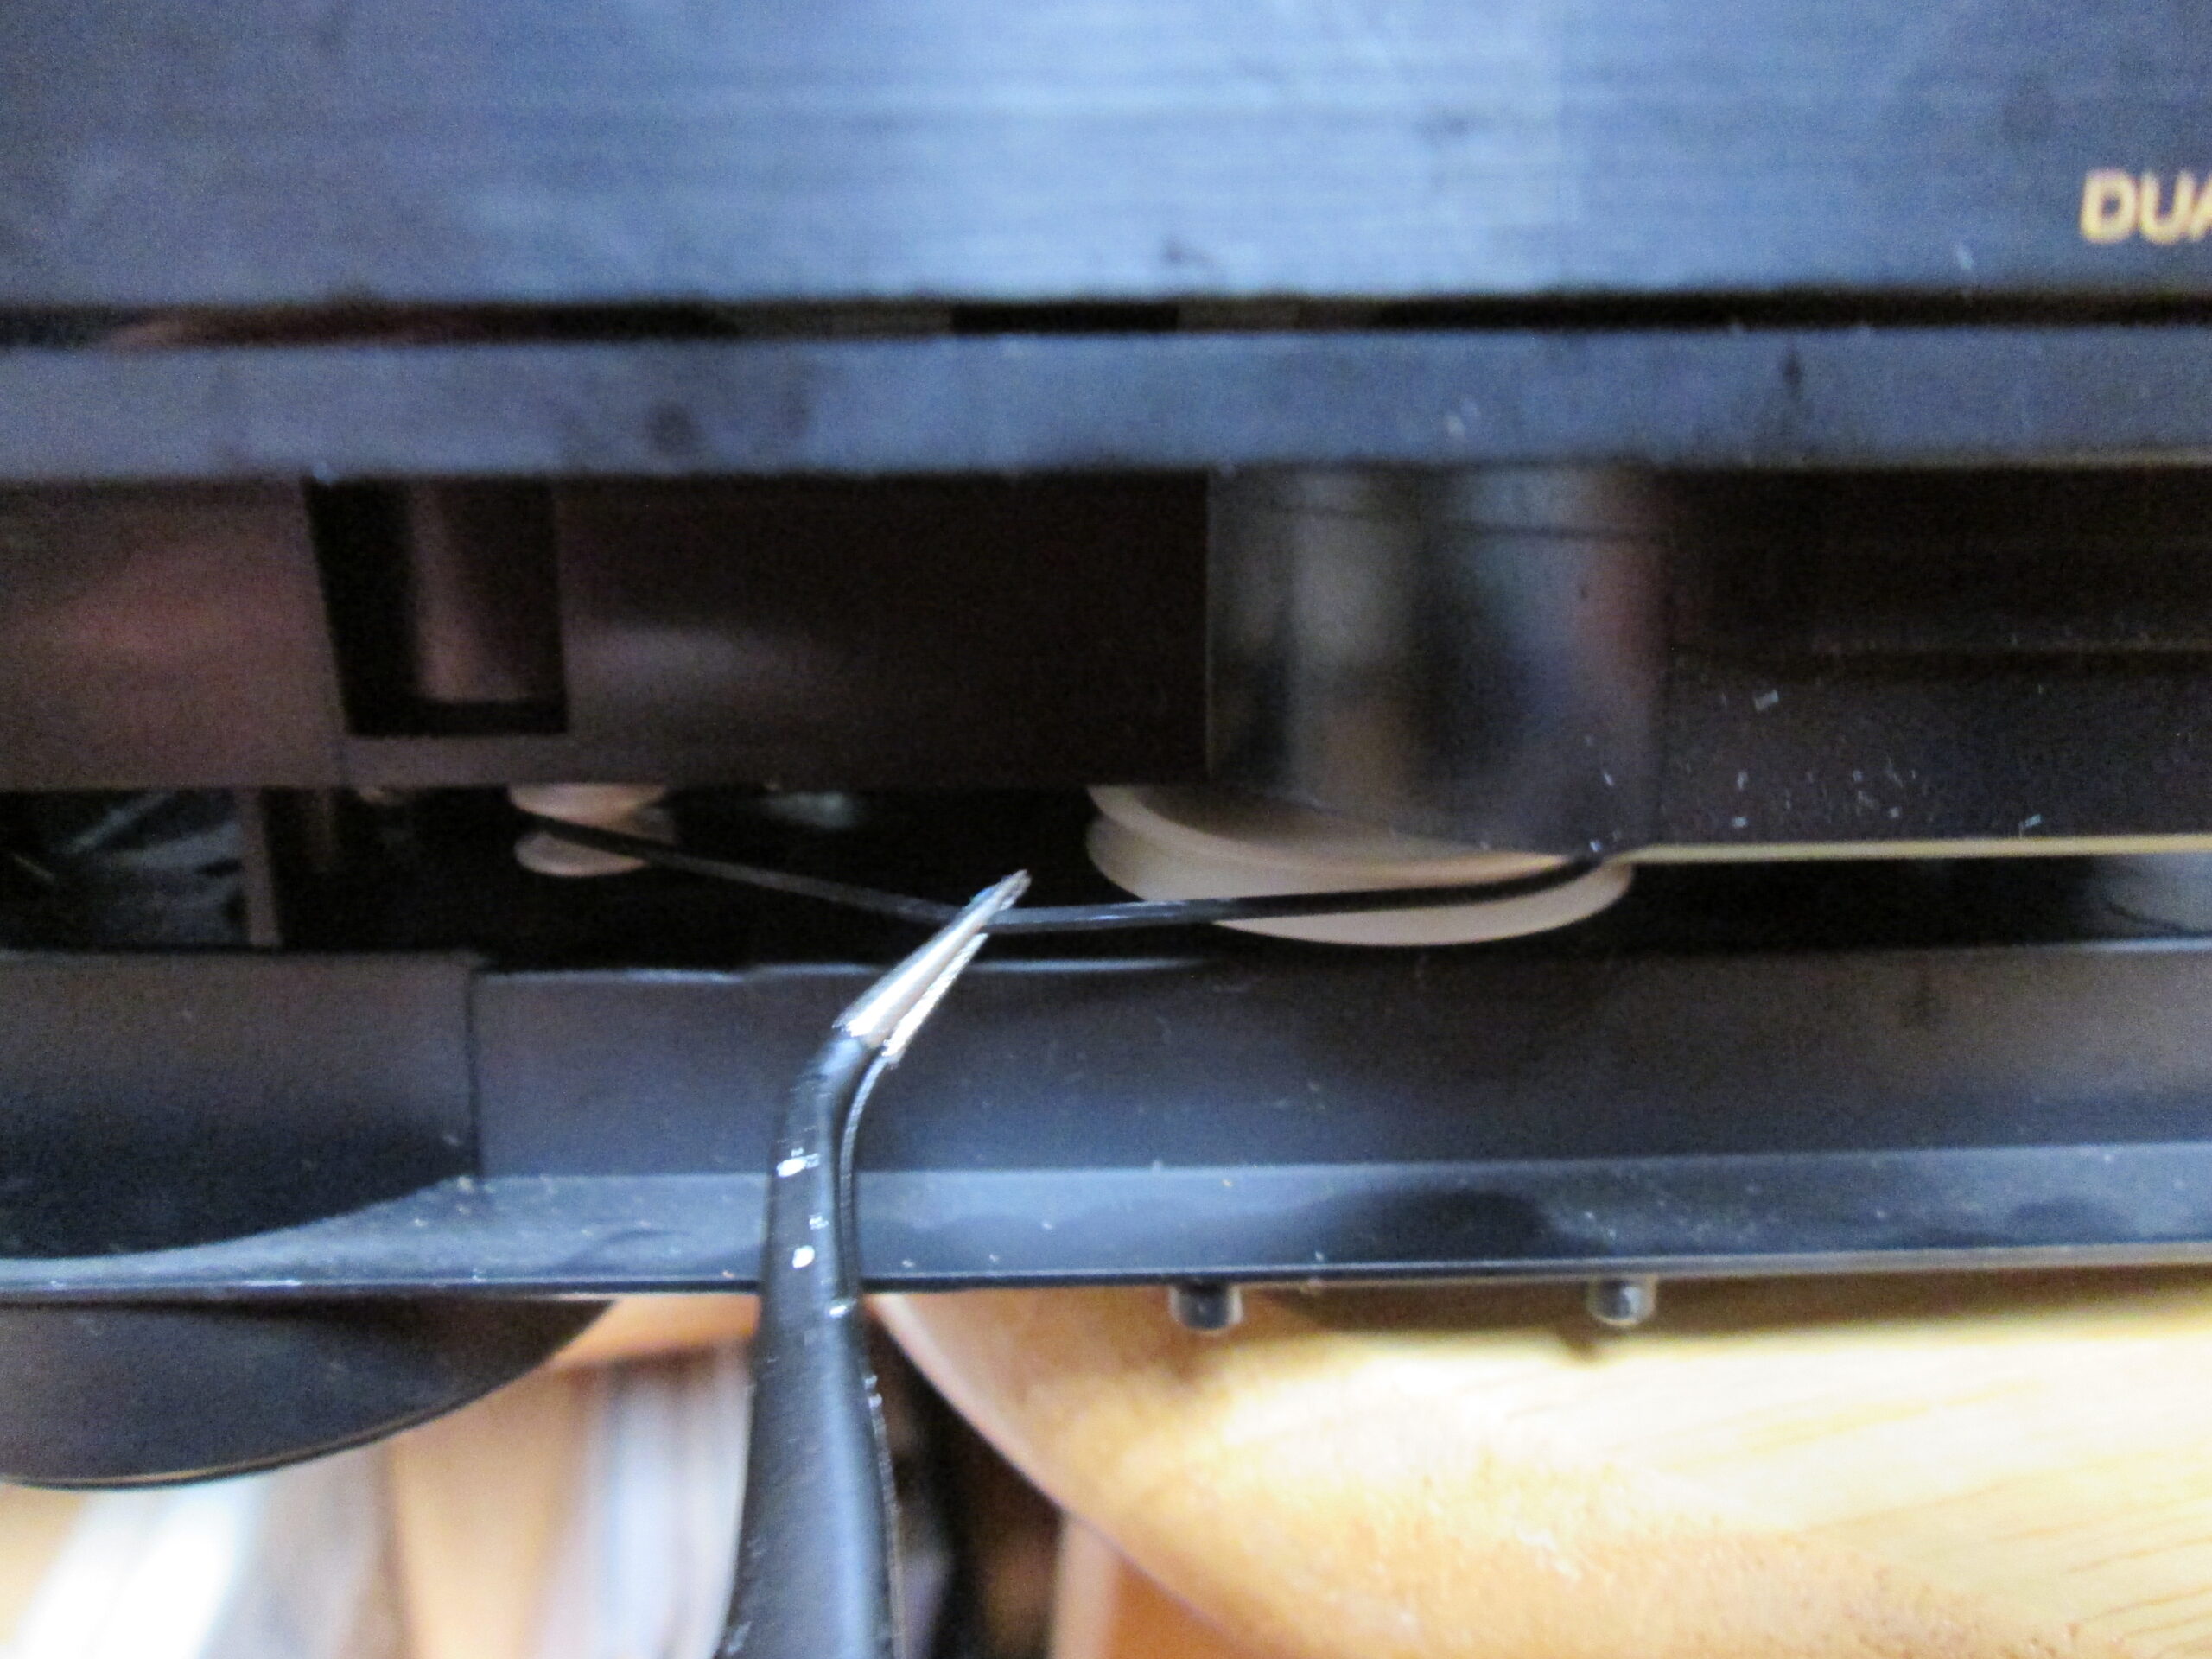
With the front cover removed it was possible to see the drawer drive belt for the machine. You would think that it is easy to remove and replace the belt. Unfortunately, there is an extra step involved.
Like many machines, this CDP-750 has an opening on the bottom of the case that is used to manually turn the drawer drive gears in case the drawer is stuck. That mean is the drawer on the machine is not working, you can insert a screwdriver into the little hole and turn the mechanism by hand and open or close the drawer. This is very cool!
But, with this machine it means that there is an extension down off of the drive gear that blocks the removal of the belt.
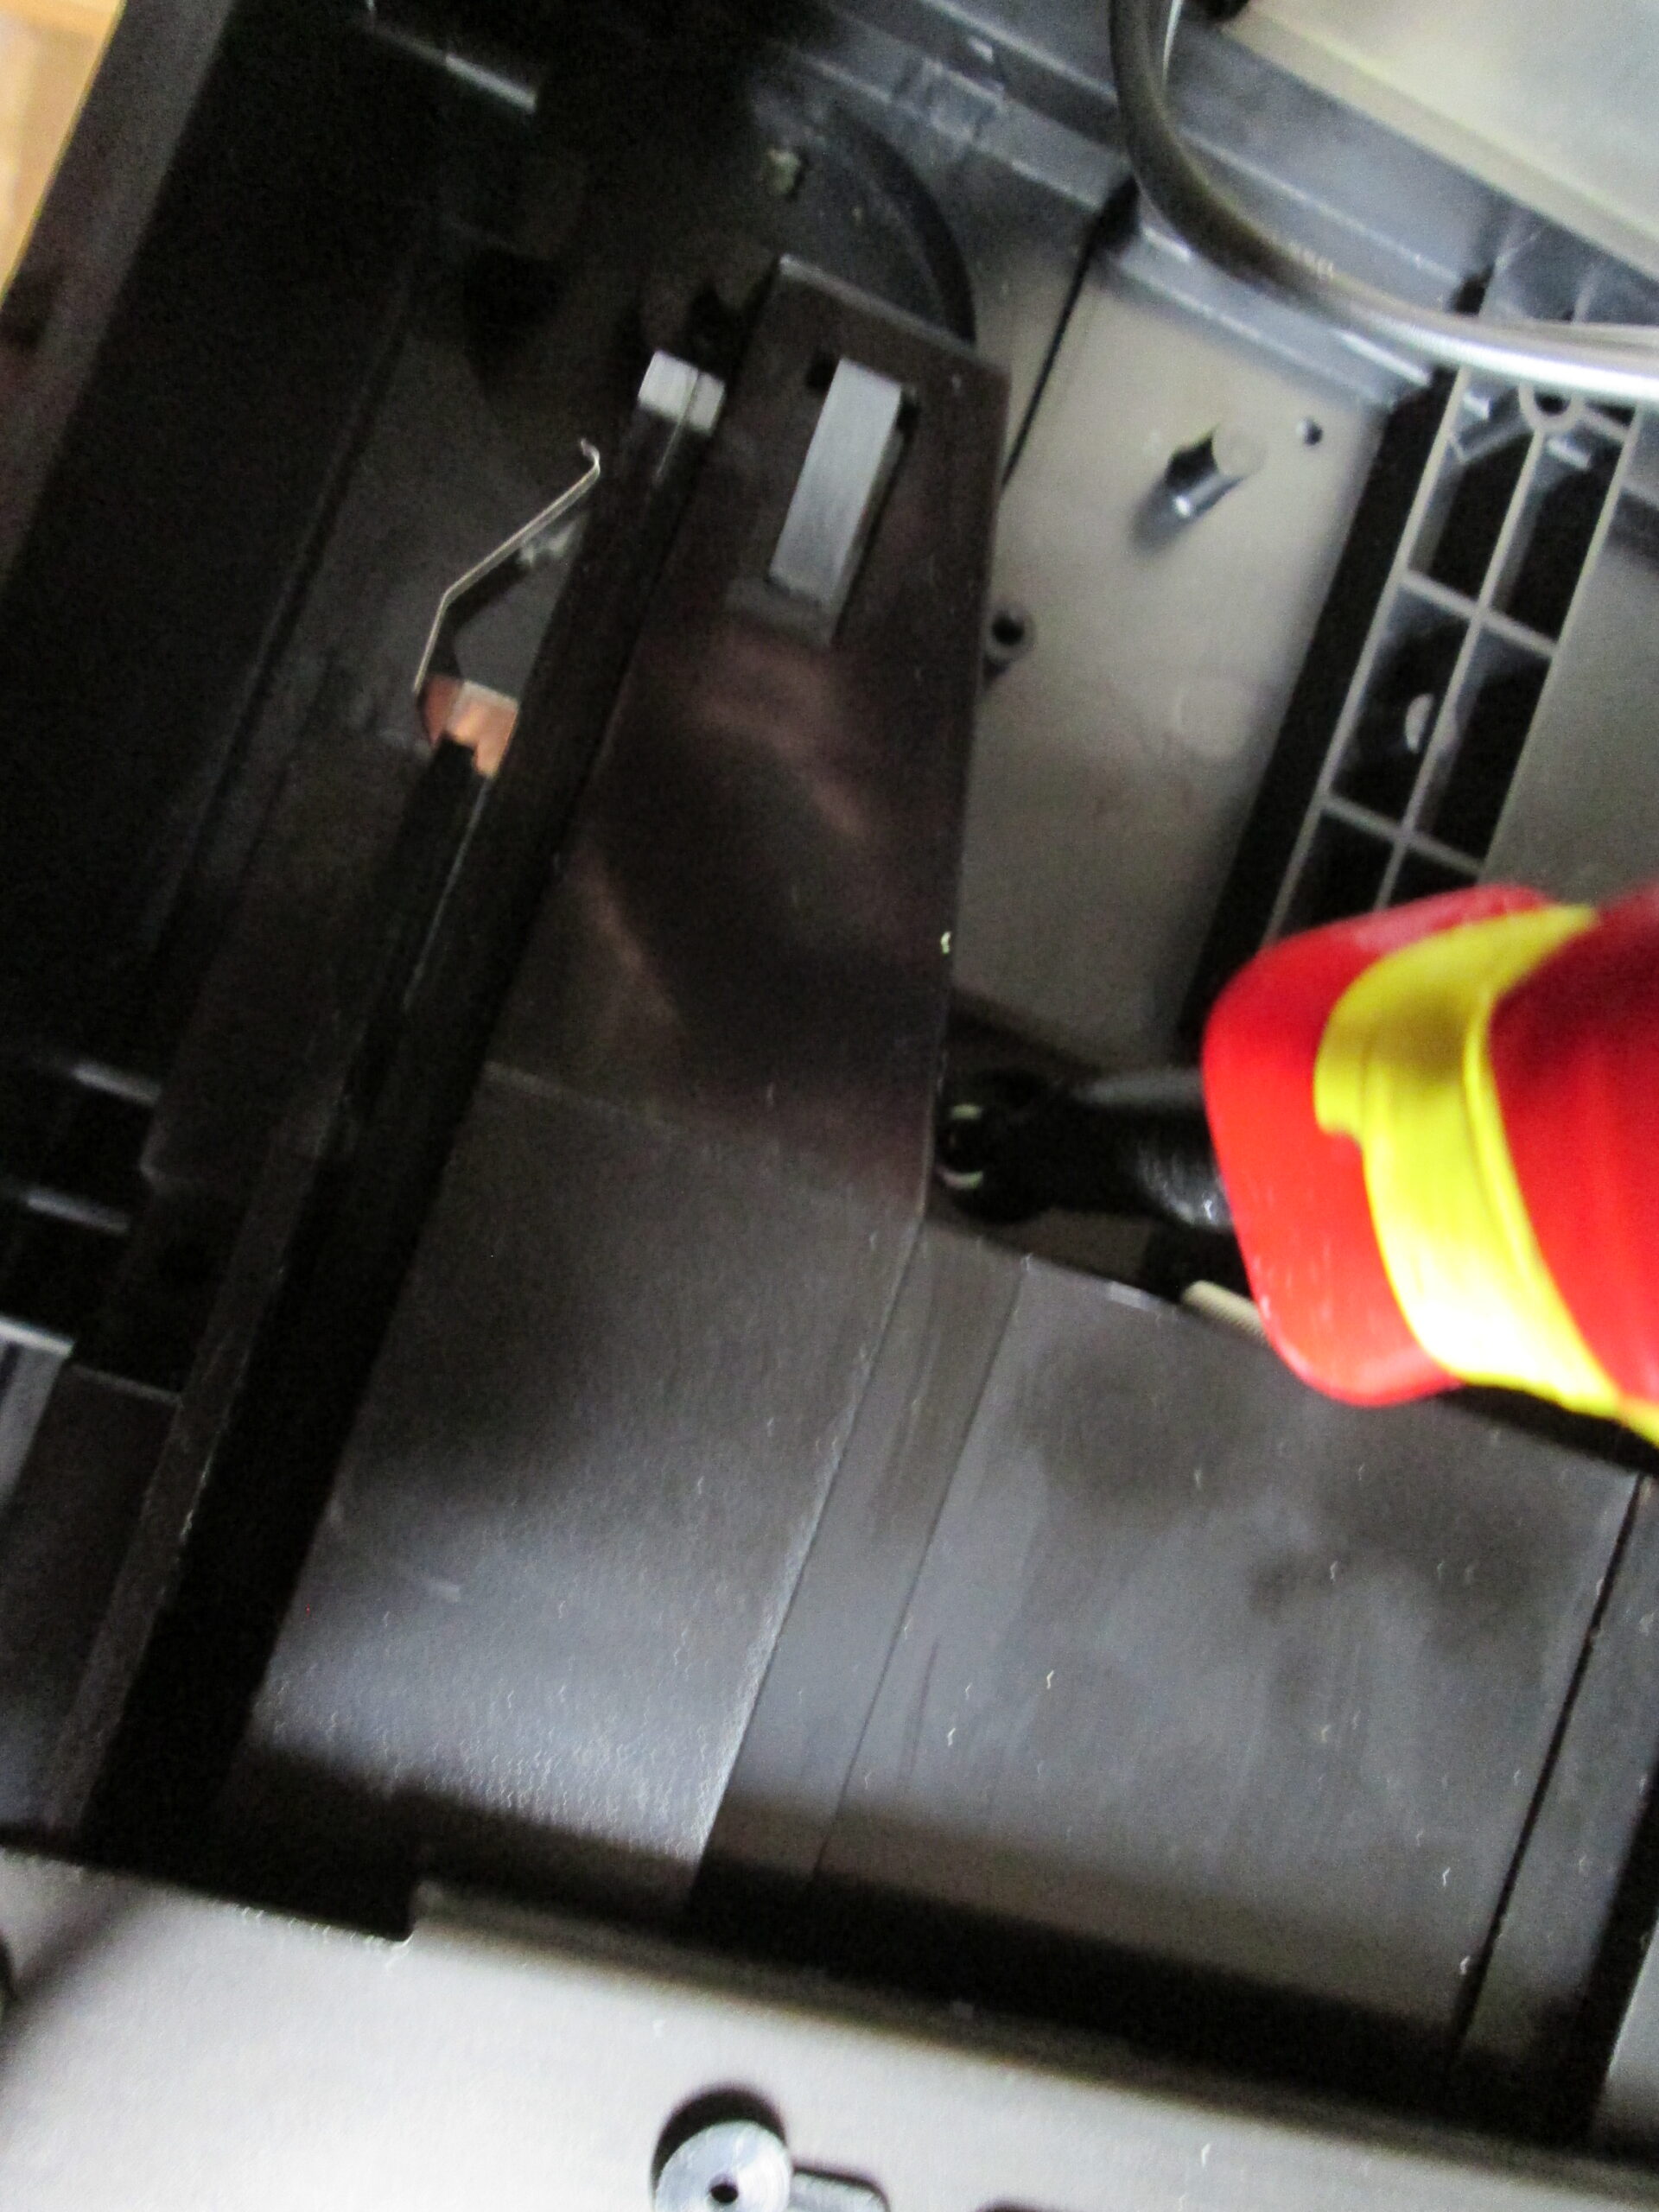
Close examination reveals that the CD and drawer assembly can be easily removed by unscrewing three screws. Of course, in other machines this may not be the case, so serious detective work is important.
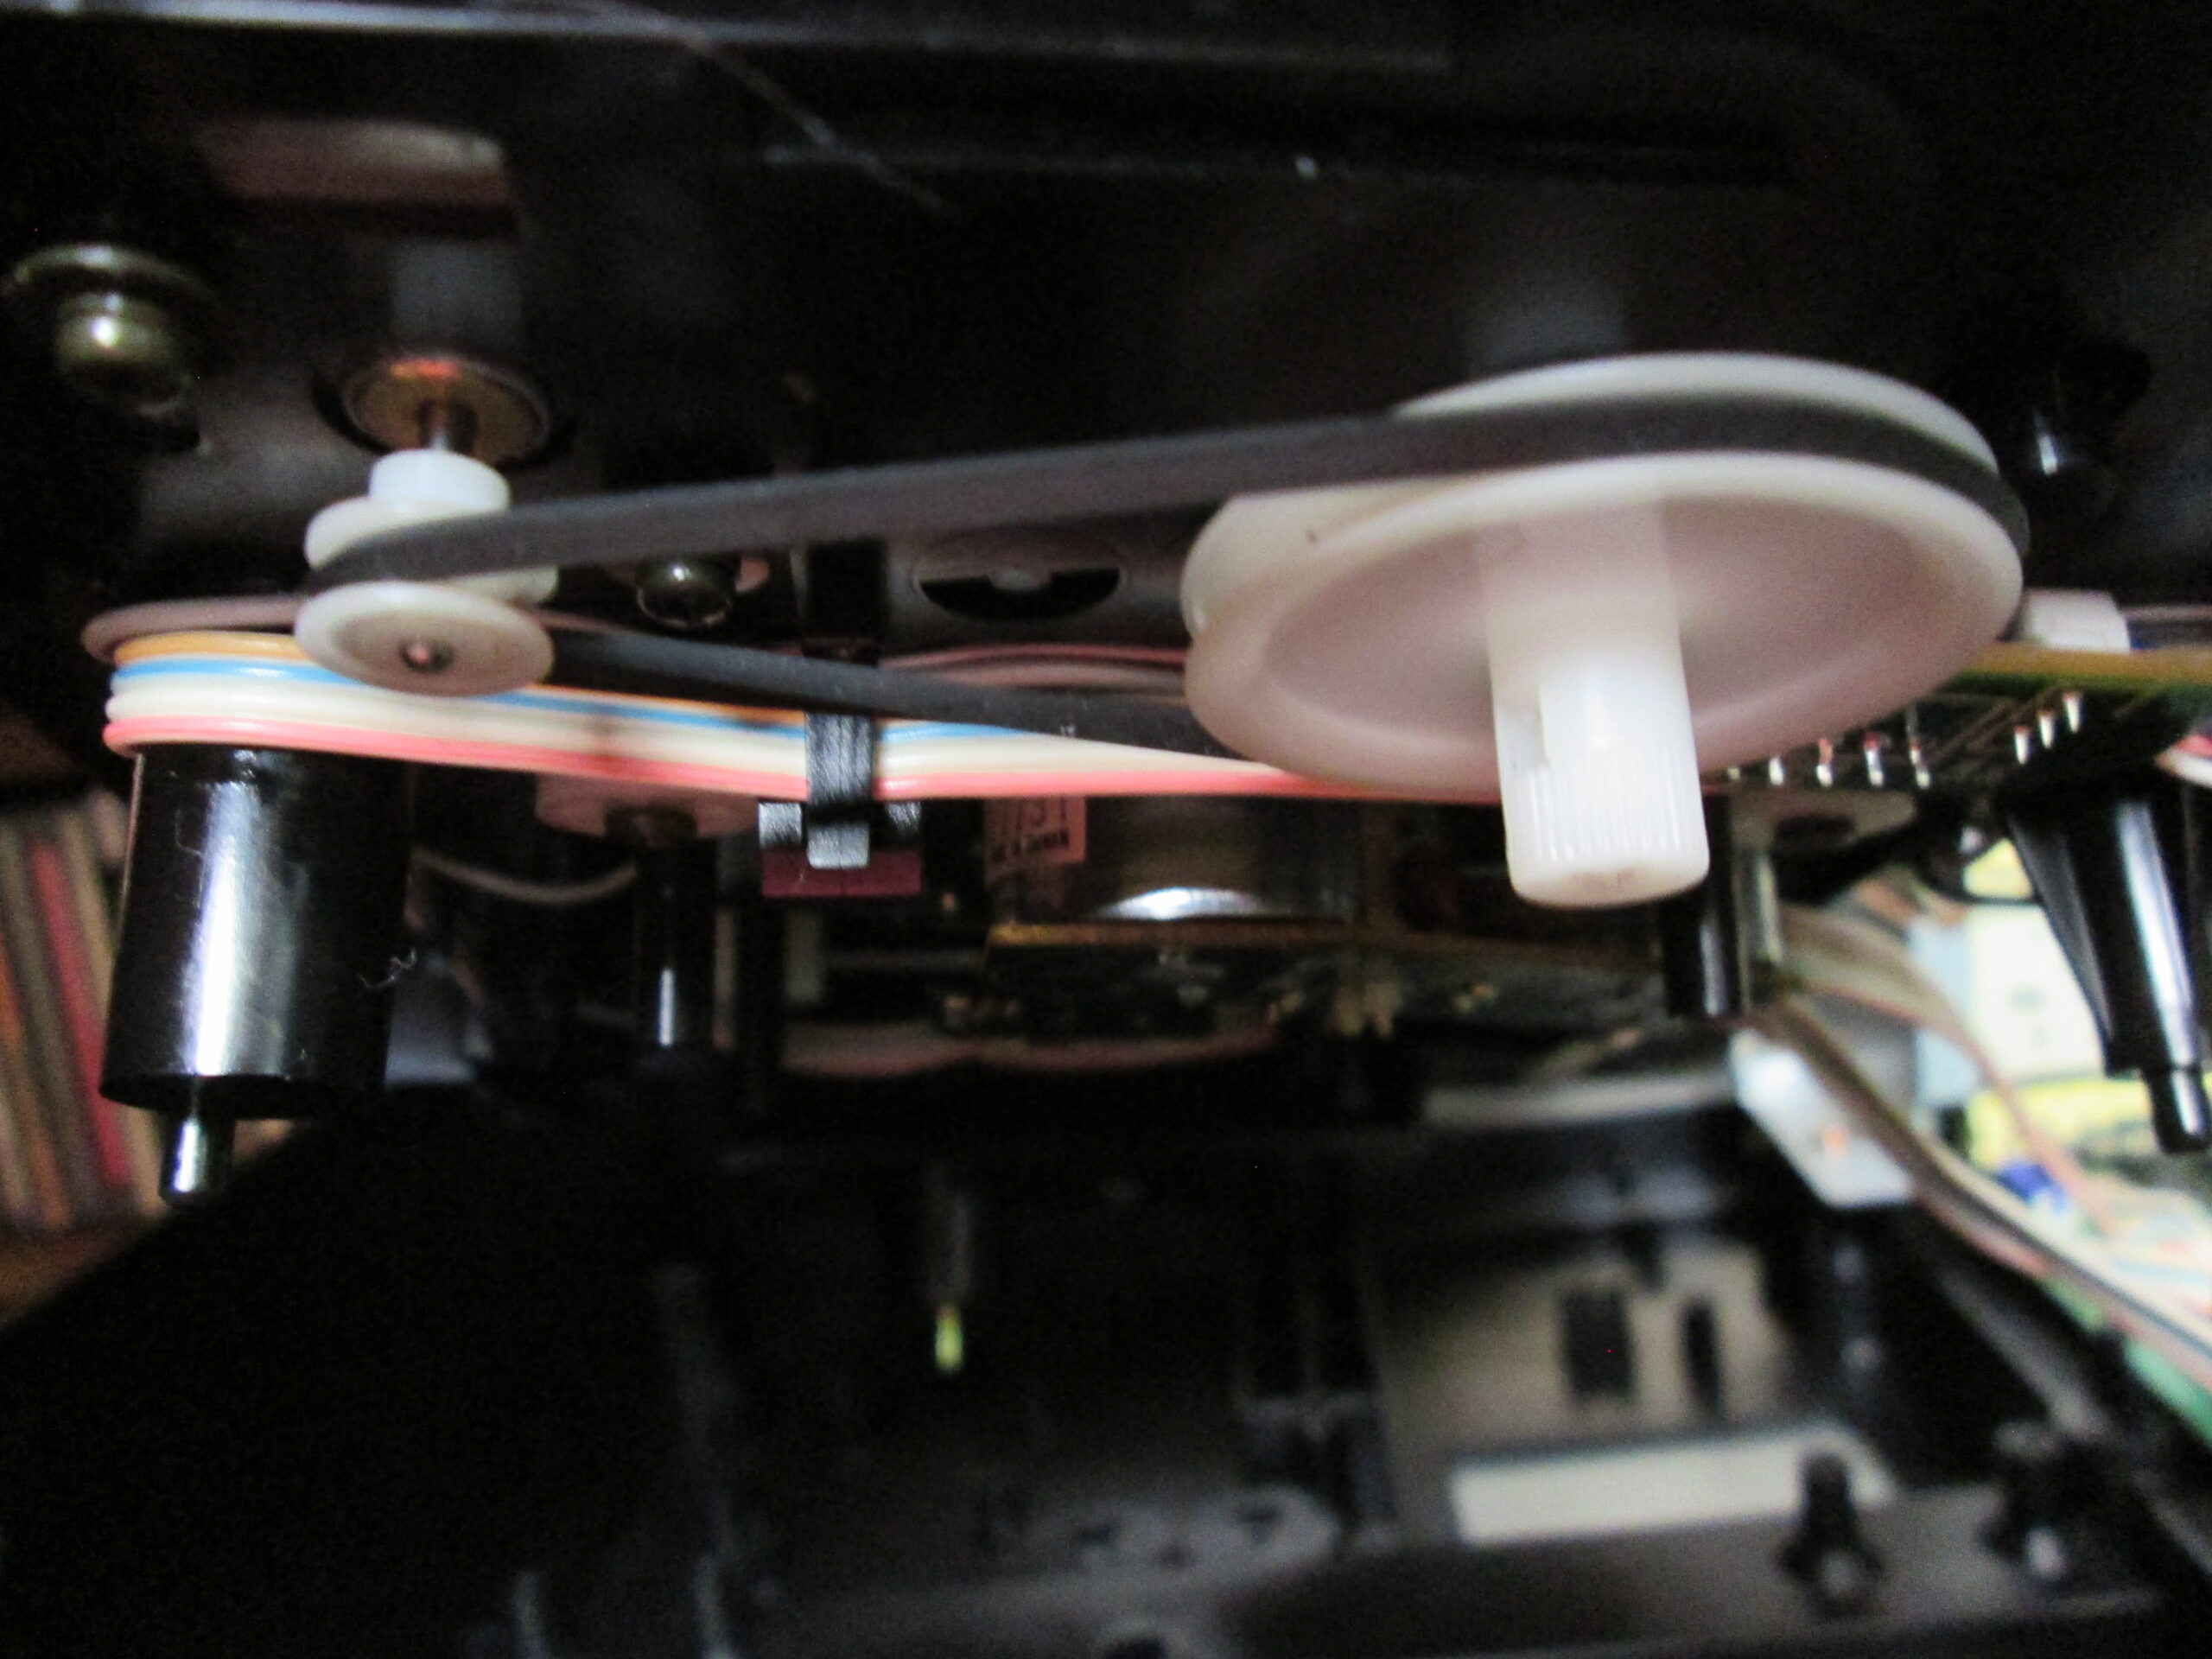
After removing the screws for the mechanism it was easy to lift the assembly a tiny bit and slip the old belt off. In the photo on the right, we see the new belt in place. The supplier of the belt provided an alcohol swab to wipe down the pully surfaces. Clean surfaces reduce the chance of the belt slipping. You do not want to get alcohol on the belt as that can damage the rubber.
After then new belt was in place I put the CD player back together in the reverse order of the disassembly. I made sure that I put the screws in the right places.
Now all I had to do was test the machine.
You can see the test in the video below.
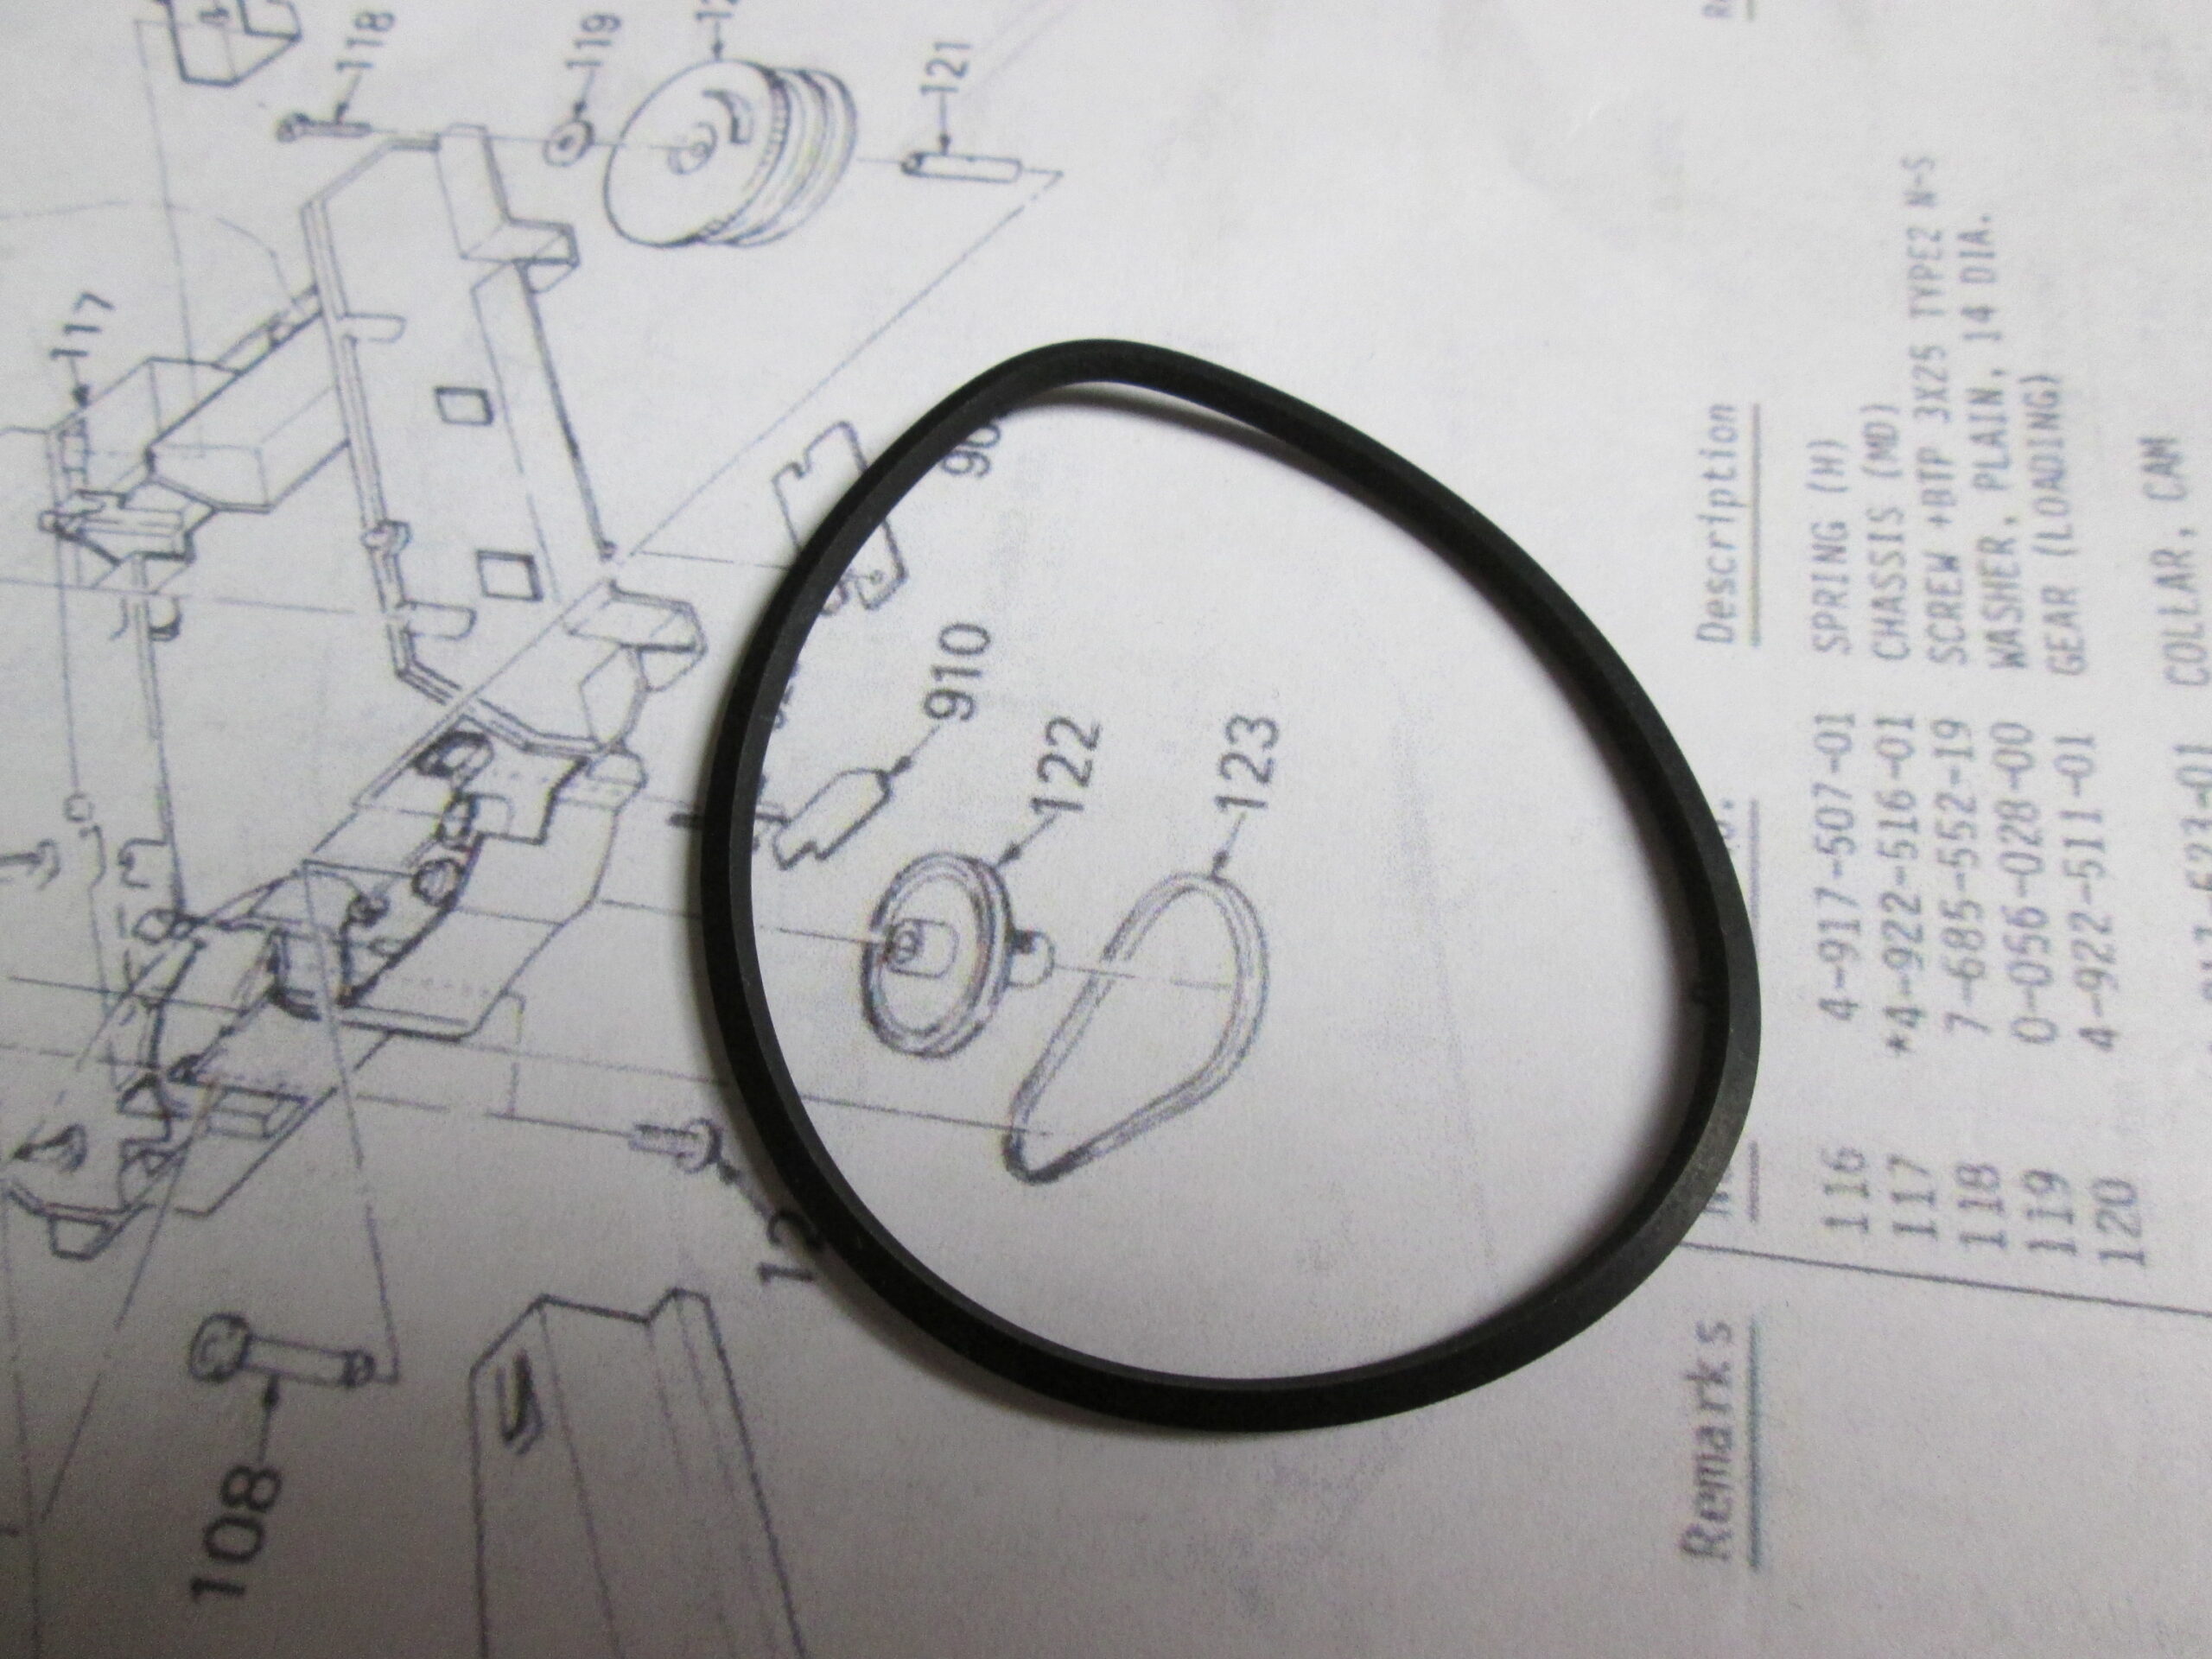
What is the difference between a good drive belt and a bad one? The photo on the right shows the old drive belt after it has been removed from the CDP-750. Notice that it is not circular, and has taken on a deformation that matches both the large curve of the big drawer pully and the curve of the smaller pully that is attached to the drive motor.
The shape of the belt indicates that the machine had not been used on a long time and that the belt had hardened into that shape. The belt had probably stretched, too. Belts also become slippery with age, on account of the hardening, the motor would operate but the belt could not drive the drawer pully.
Because the drawer mechanism had “jumped a gear” and become misaligned, the drawer would not operate. Once the alignment had been corrected, the drawer still would not work because the belt was bad. With the new belt in place the drawer slides in and out just like it did when new.
I was asked about the difference between CD drawer drive belts and cassette player belts. I am not an expert, but in my experience cassette player belts are about half the thickness of CD belts. They seem to also be “stretchier”. I have been able to use cassette belts once or twice as temporary solutions until I could get new CD belts, but I would not suggest using cassette belts permanently.
I am hoping you find this post to be interesting. As I mentioned at the top, this is not intended to be a “how to” post. It is just a story about a project I had recently. I always suggest having repairs done by professionals. In this case, it was a fun and challenging activity and I can add the experience to my list of accomplishments.