Oh, boy! What a project! You have probably seen the previous two posts about this very interesting project. We are rehabilitating a patio bench glider. The seat slats are wood, and the frame is metal.
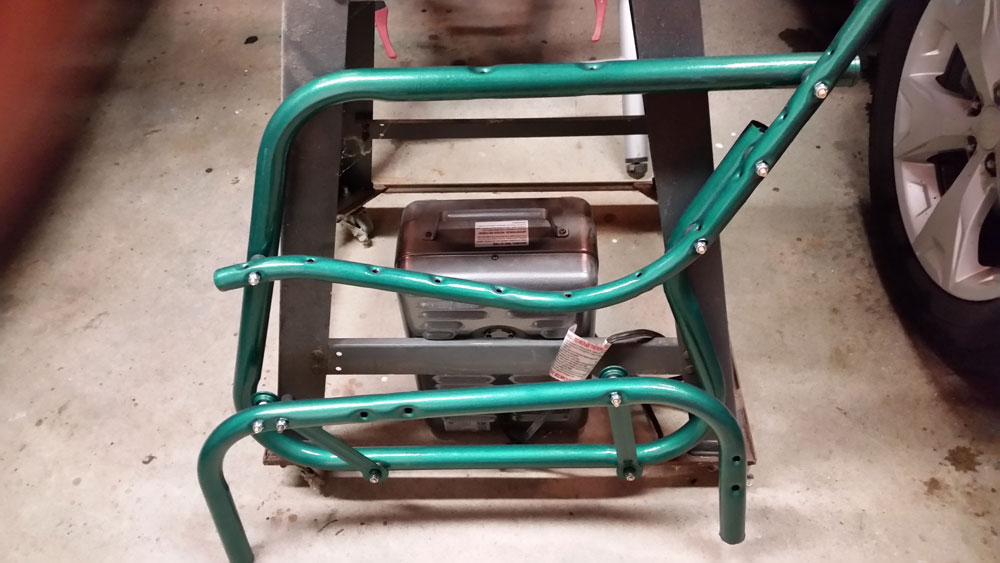
We have refinished the metal frame. The metal itself was in pretty good condition, although we discovered some rust in the two tubes that are used for the seat itself. We had to attack the frame with a stripping disk on a 4 1/2″ grinder to deal with the rust. The holes had to be welded, and in one instance it required fabricating a patch. The sloppy white paint was removed, and the surfaces were prepared using sandpaper, I think it was 120 grit, and a lot of hand-work.
We wanted the paint to be similar to the original dark green hammered finish, but it turns out that the stores don’t stock the hammer finish in green. This is more that a little mysterious, so I ordered spray cans from an online source. The paint is officially “deep green” and looks really super-duper, although it is a slightly lighter shade than the original.
Of course, all of this work could only be done after disassembling the frame. All the parts were bagged and tagged, and example bolts were taped to paper slips so we could match them at the hardware store.
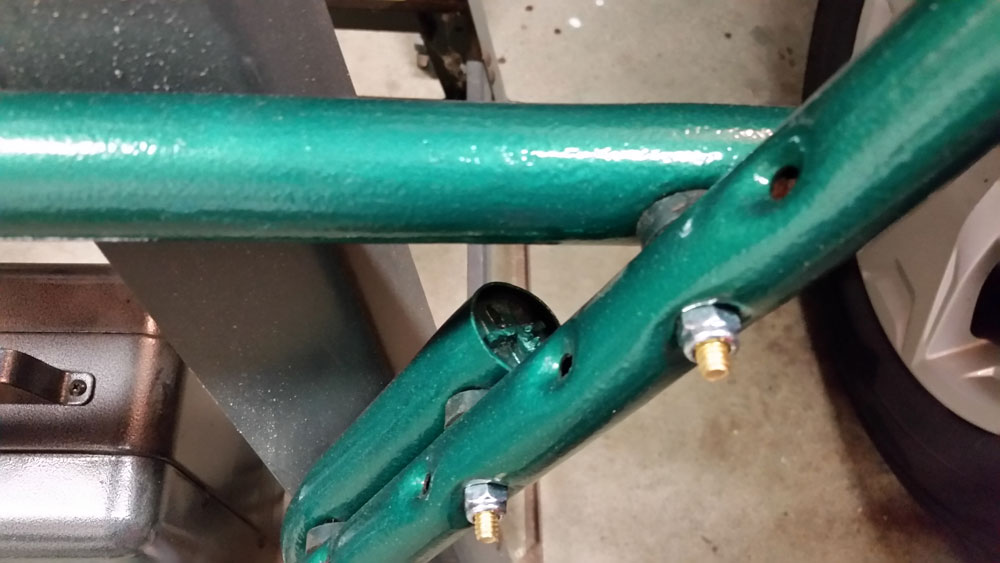
The bolts for the frame are all new brass with lock nuts featuring nylon inserts.
The frame has spacers between the pipes, so metal never touches meta. That means the frame will not squeak when the glider glides. The lock nuts on the new bolts also mean the frame will not come apart as time goes on. It is all nicely thought out.
The next step will be to do the final assembly. I am hoping for the best!