In my previous post I discussed the cleaning of the Advent Graduate speakers that you see on the right. Now that they are all nice and fresh, the time has come to replace the foam rings that surround the woofers. Remember, these foams are extremely important and without them the speakers will sound terrible and might even sustain damage.
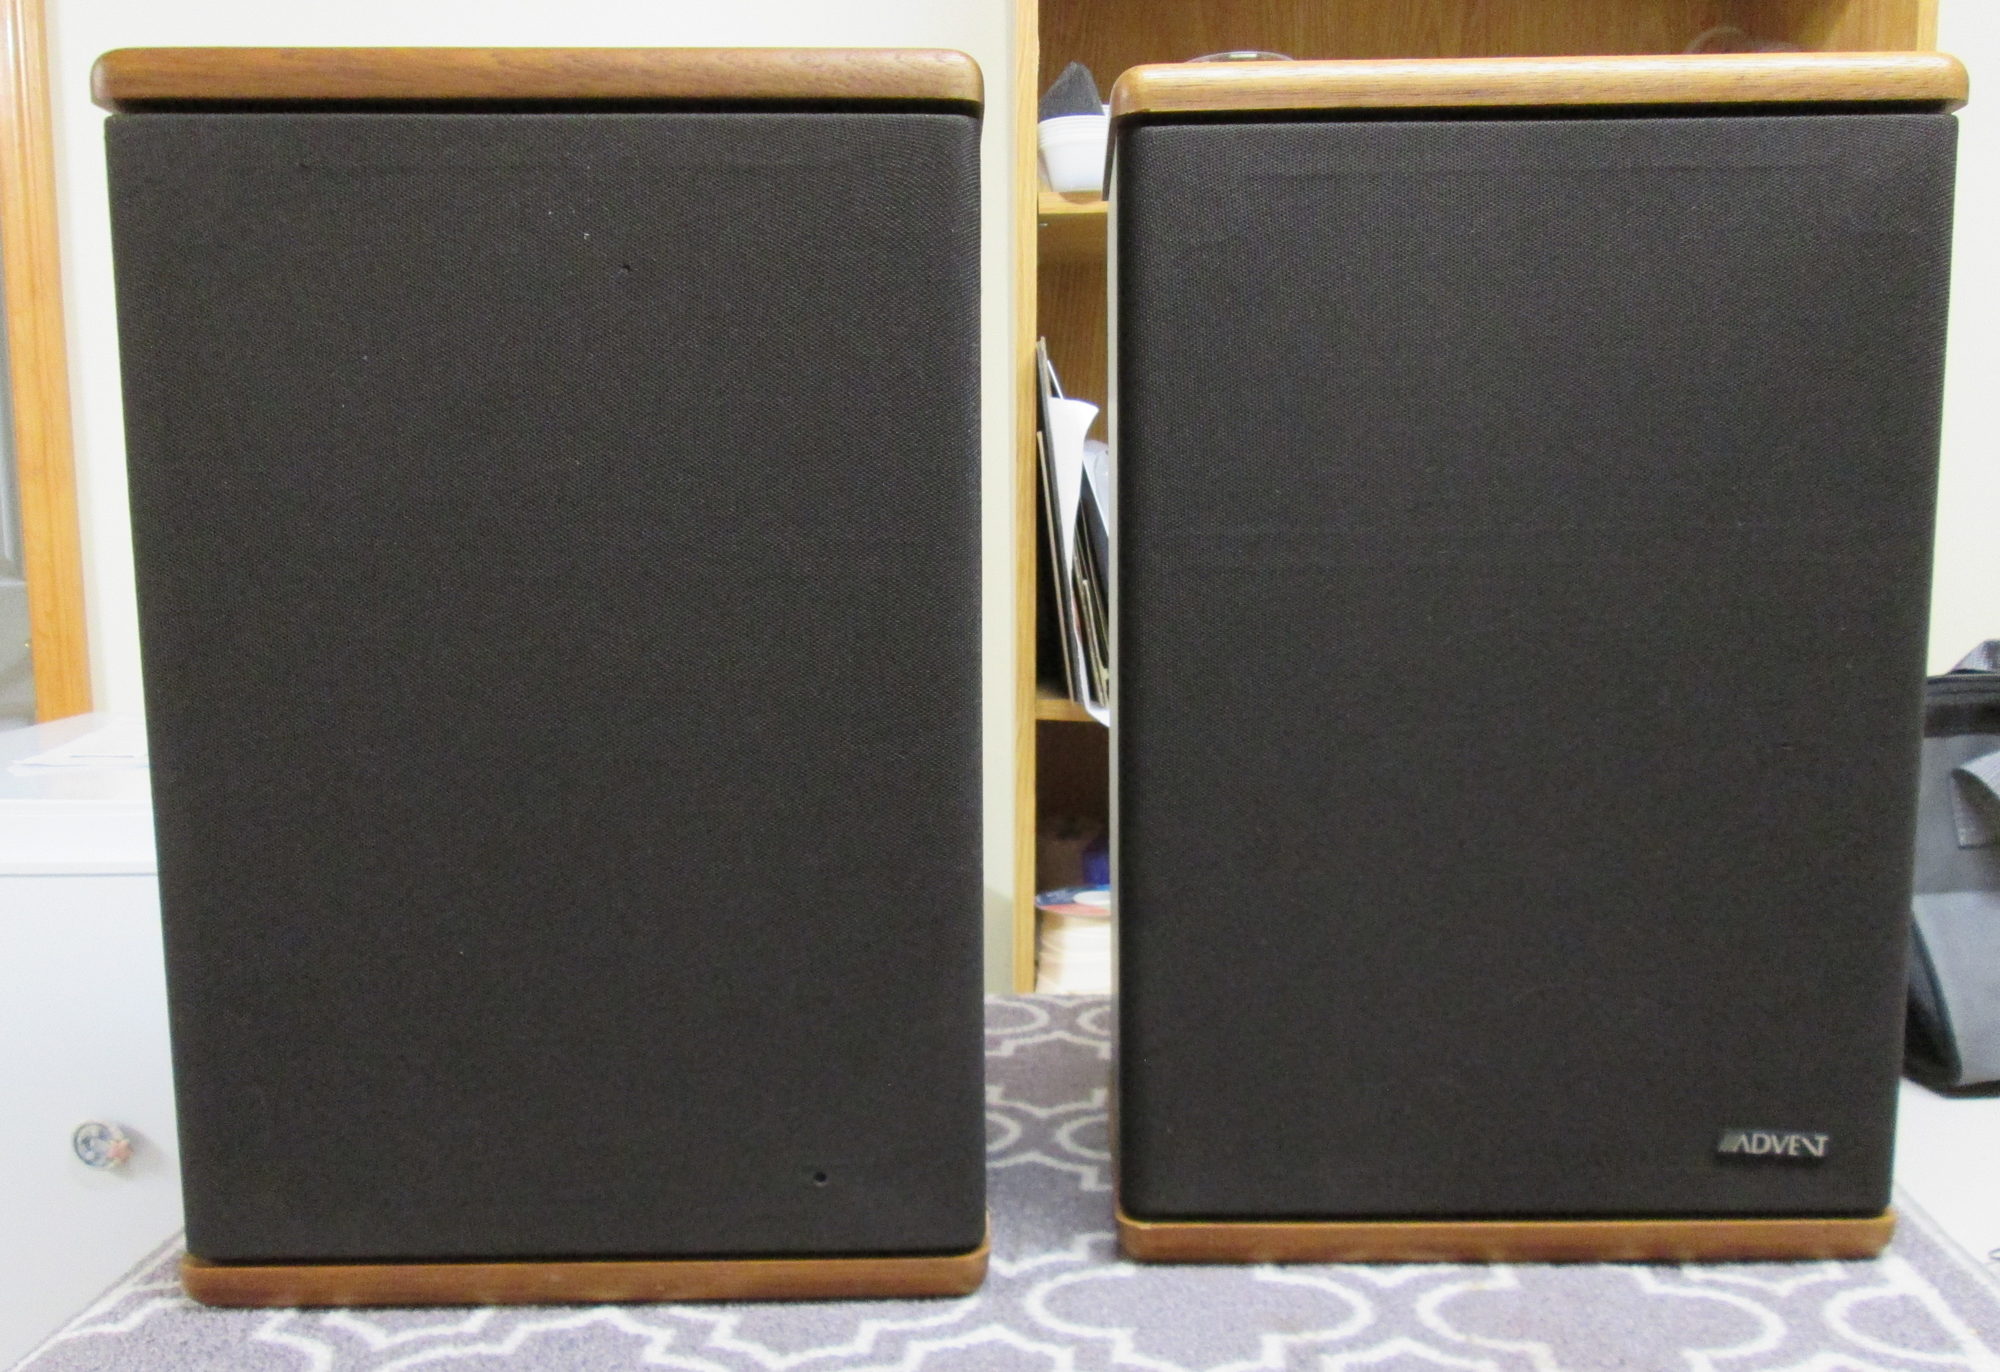
Once we remove the speaker grill we can get a good look at the condition of the foam ring around the woofer. What a mess! Foams typically degrade with age, but some speakers have a reputation for breaking up faster than others. If you have old speakers, don’t be surprised to find the sort of wreck you see on the right.
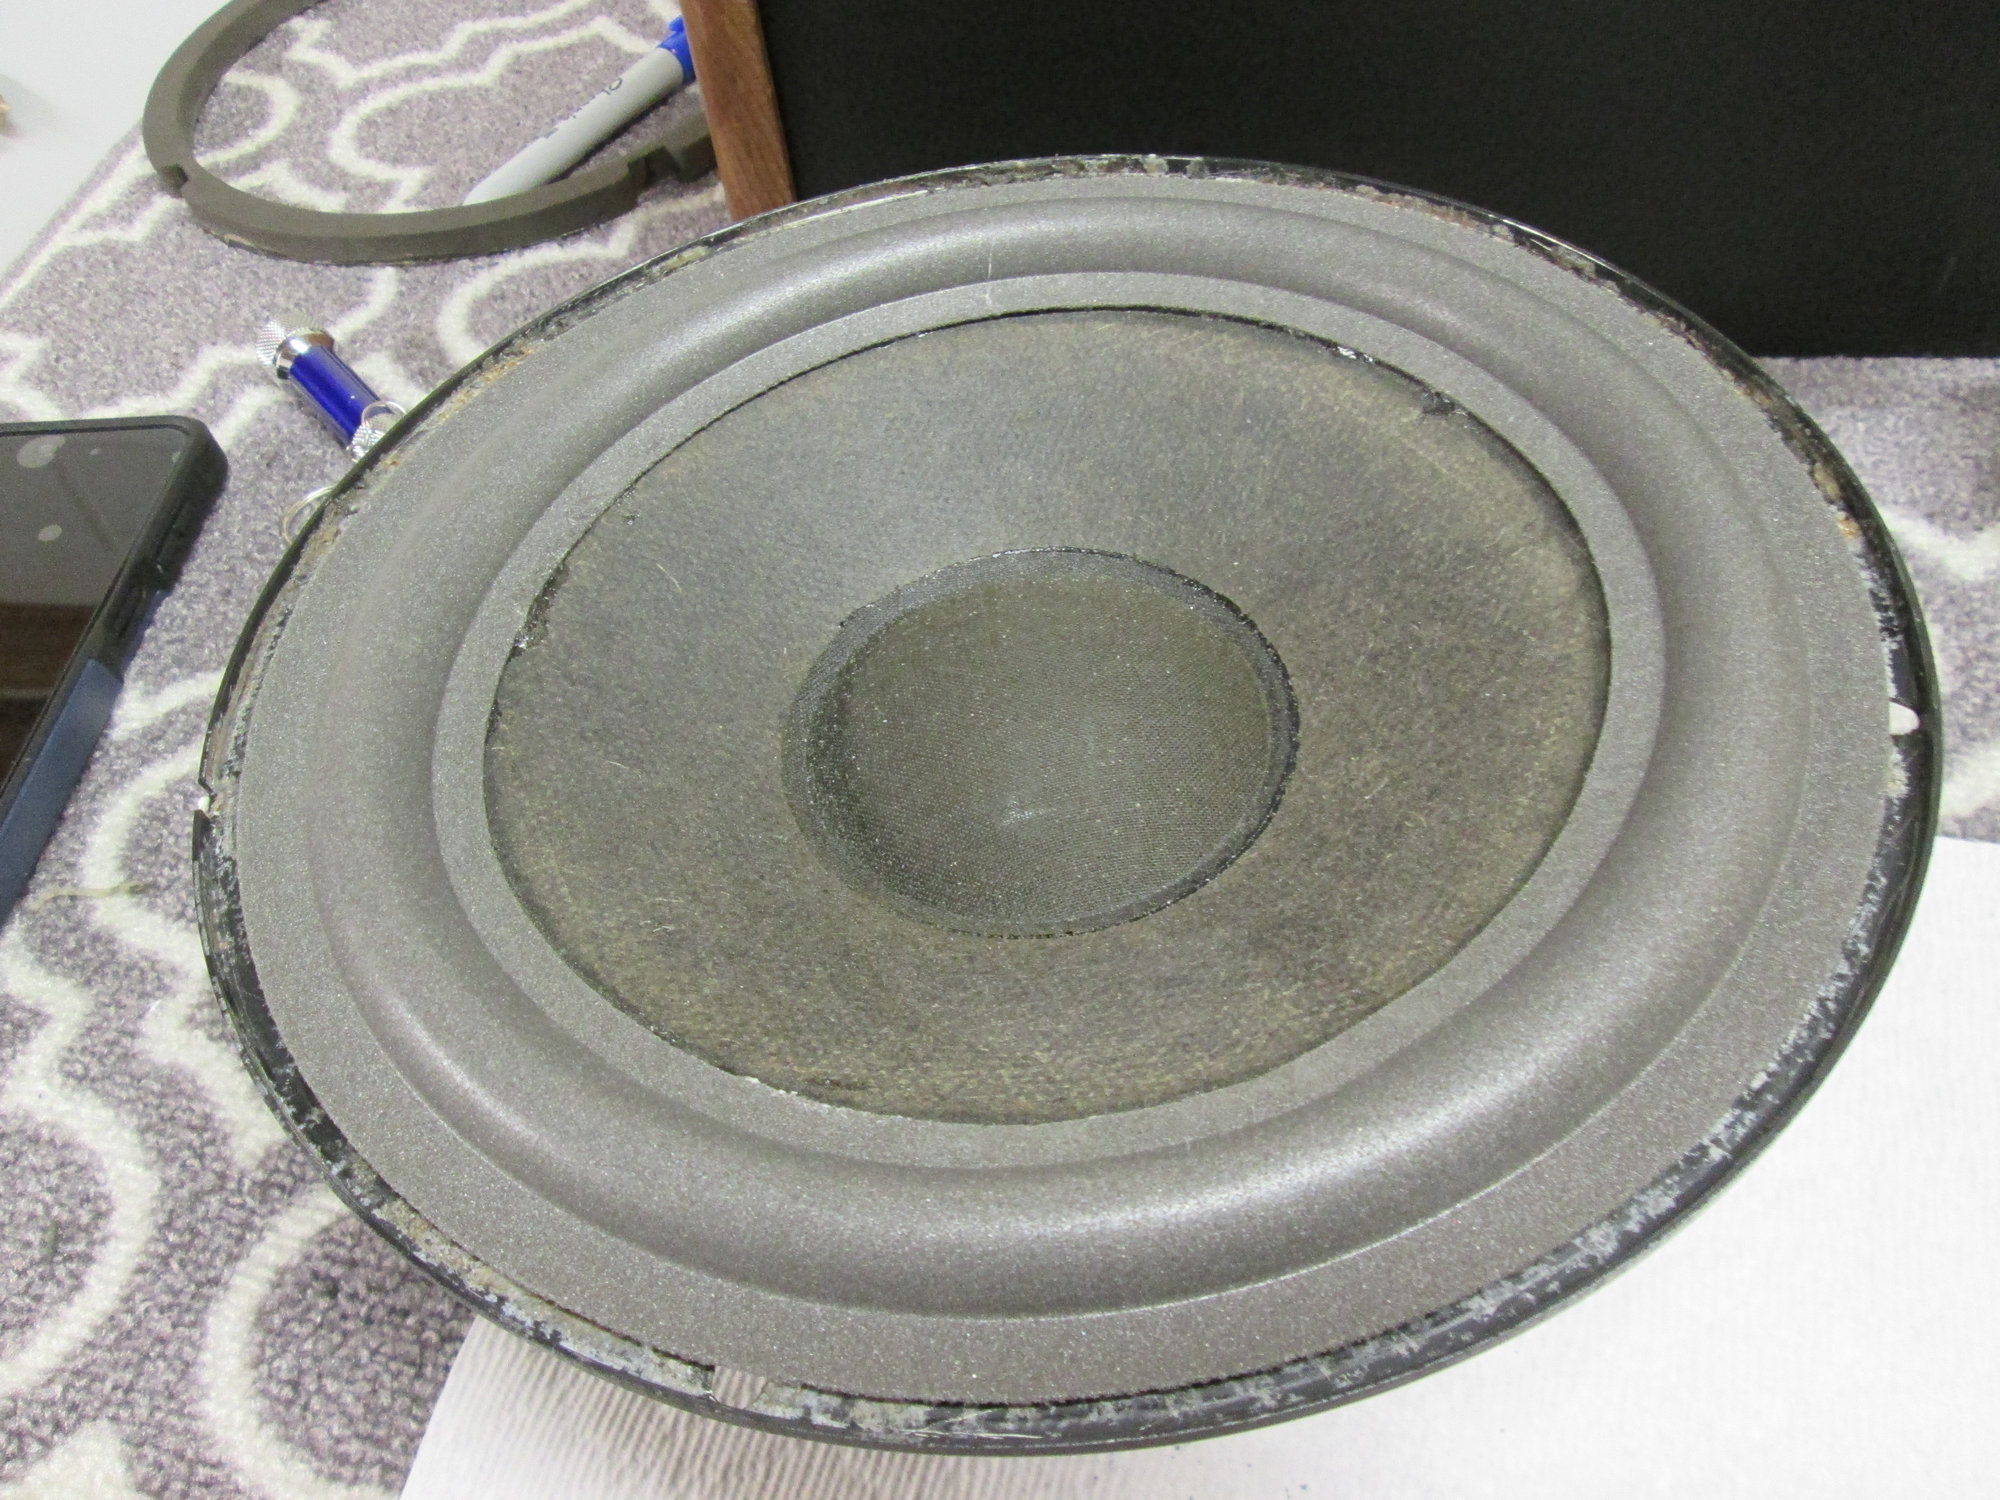
The good news is that the paper cone and fabric dome in the photo are in excellent condition, so replacing the foam rings for the speaker pair is a reasonable option.

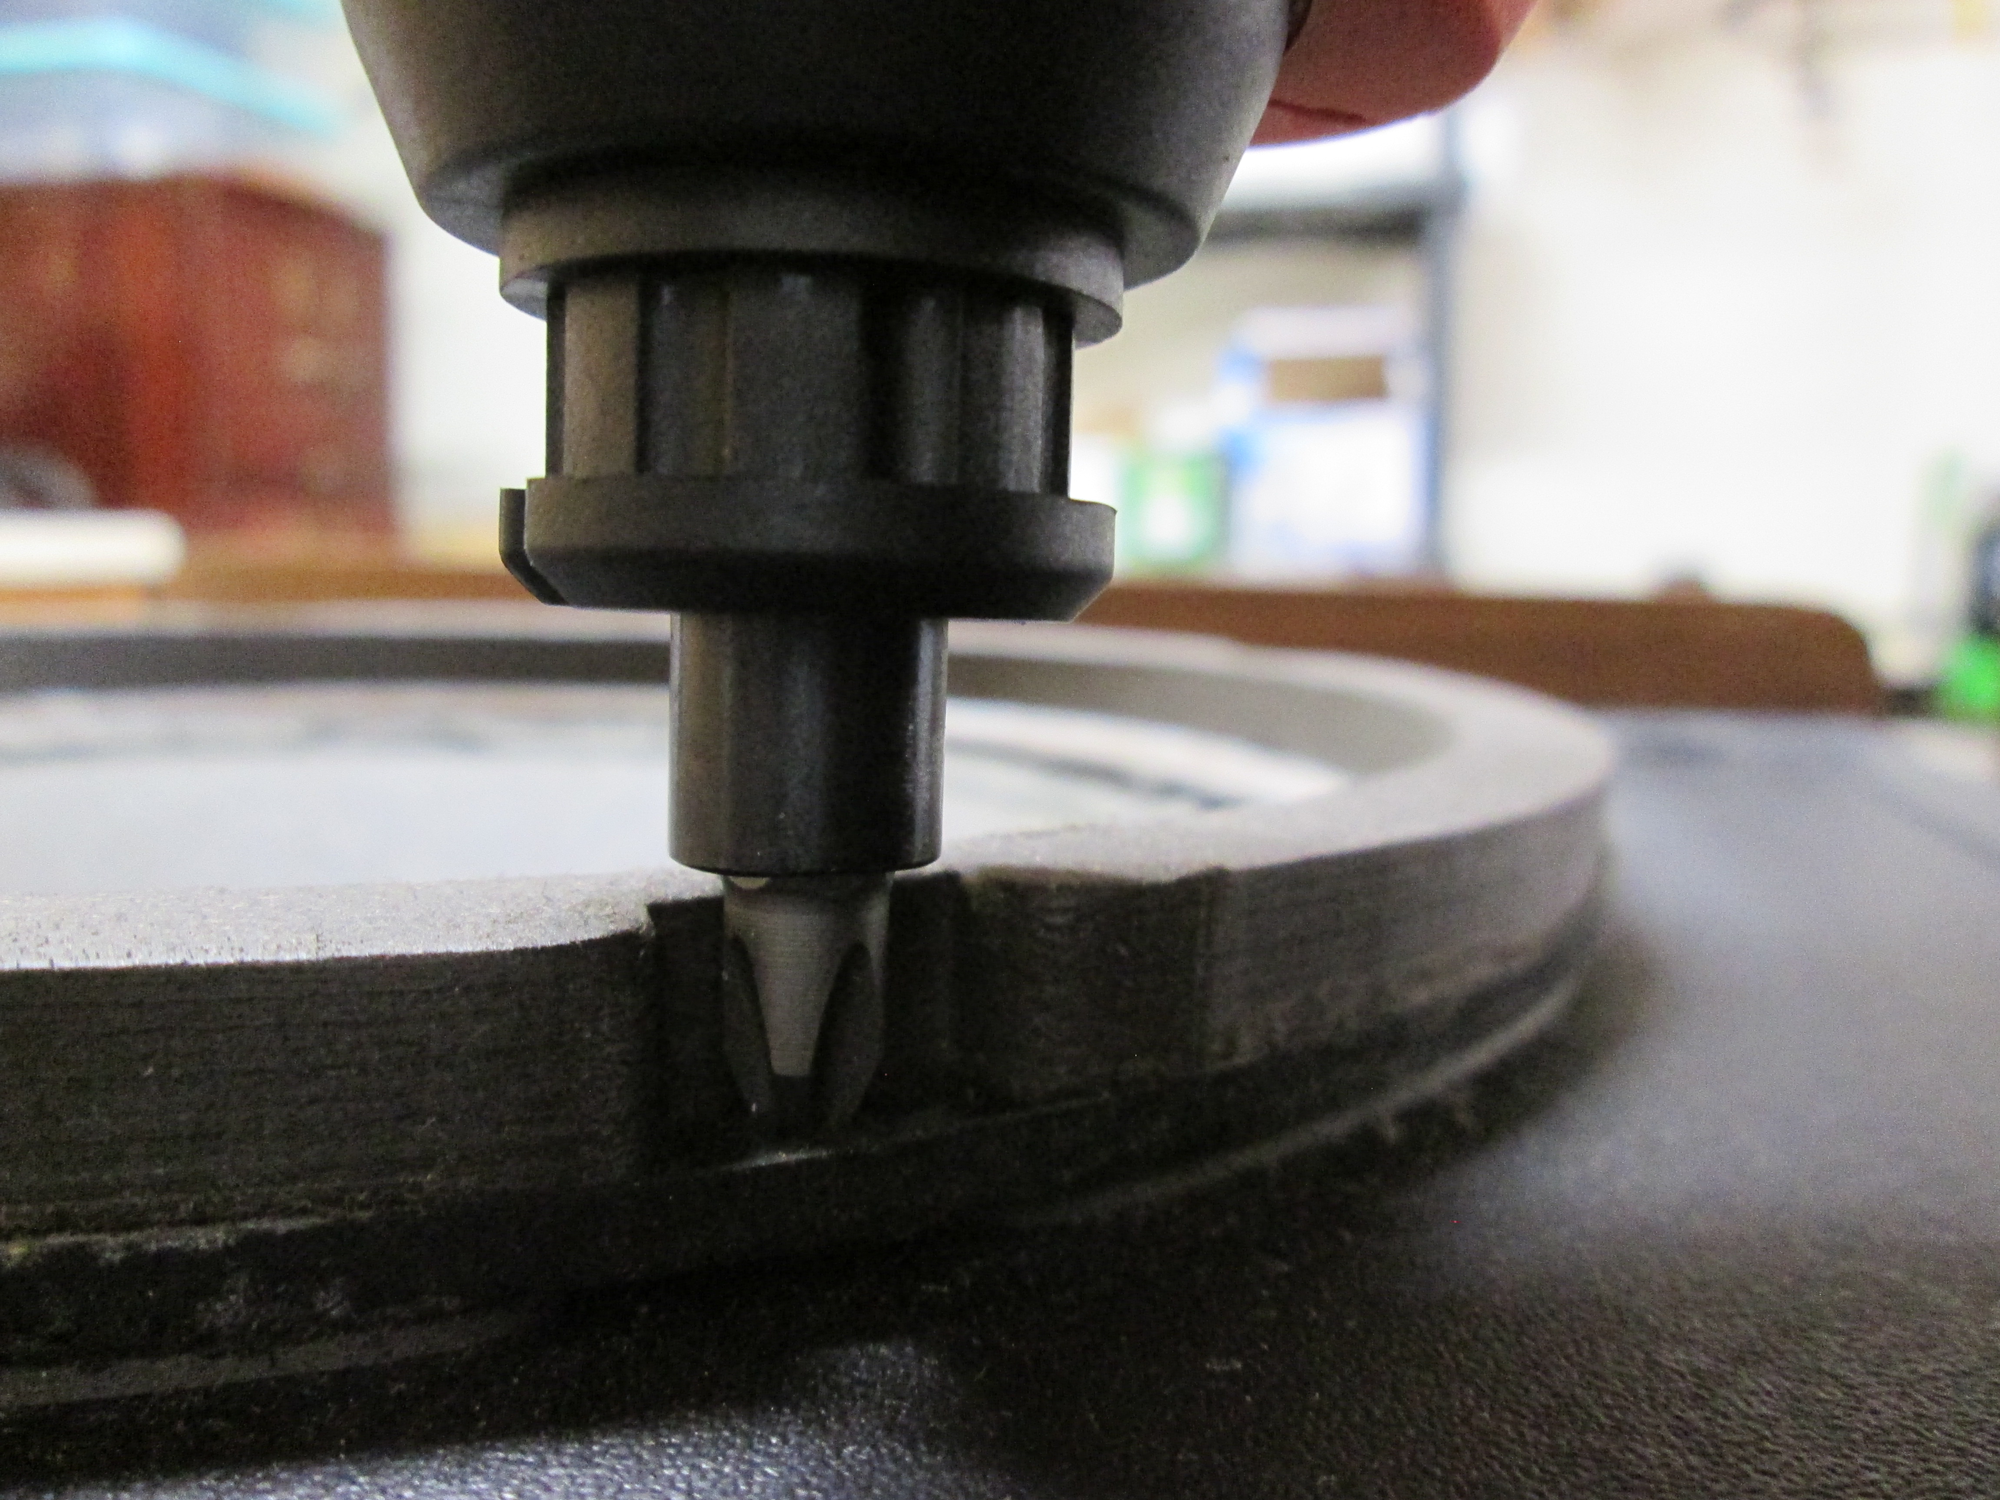
I really, really dislike unscrewing the woofers from the cabinet. Why? Well, one slip with the screwdriver and the result would be a disastrous hole in the paper speaker cone!
This time I decided to use a new electric screwdriver and I was pleased to discover that the screws came out safely without muss or fuss.
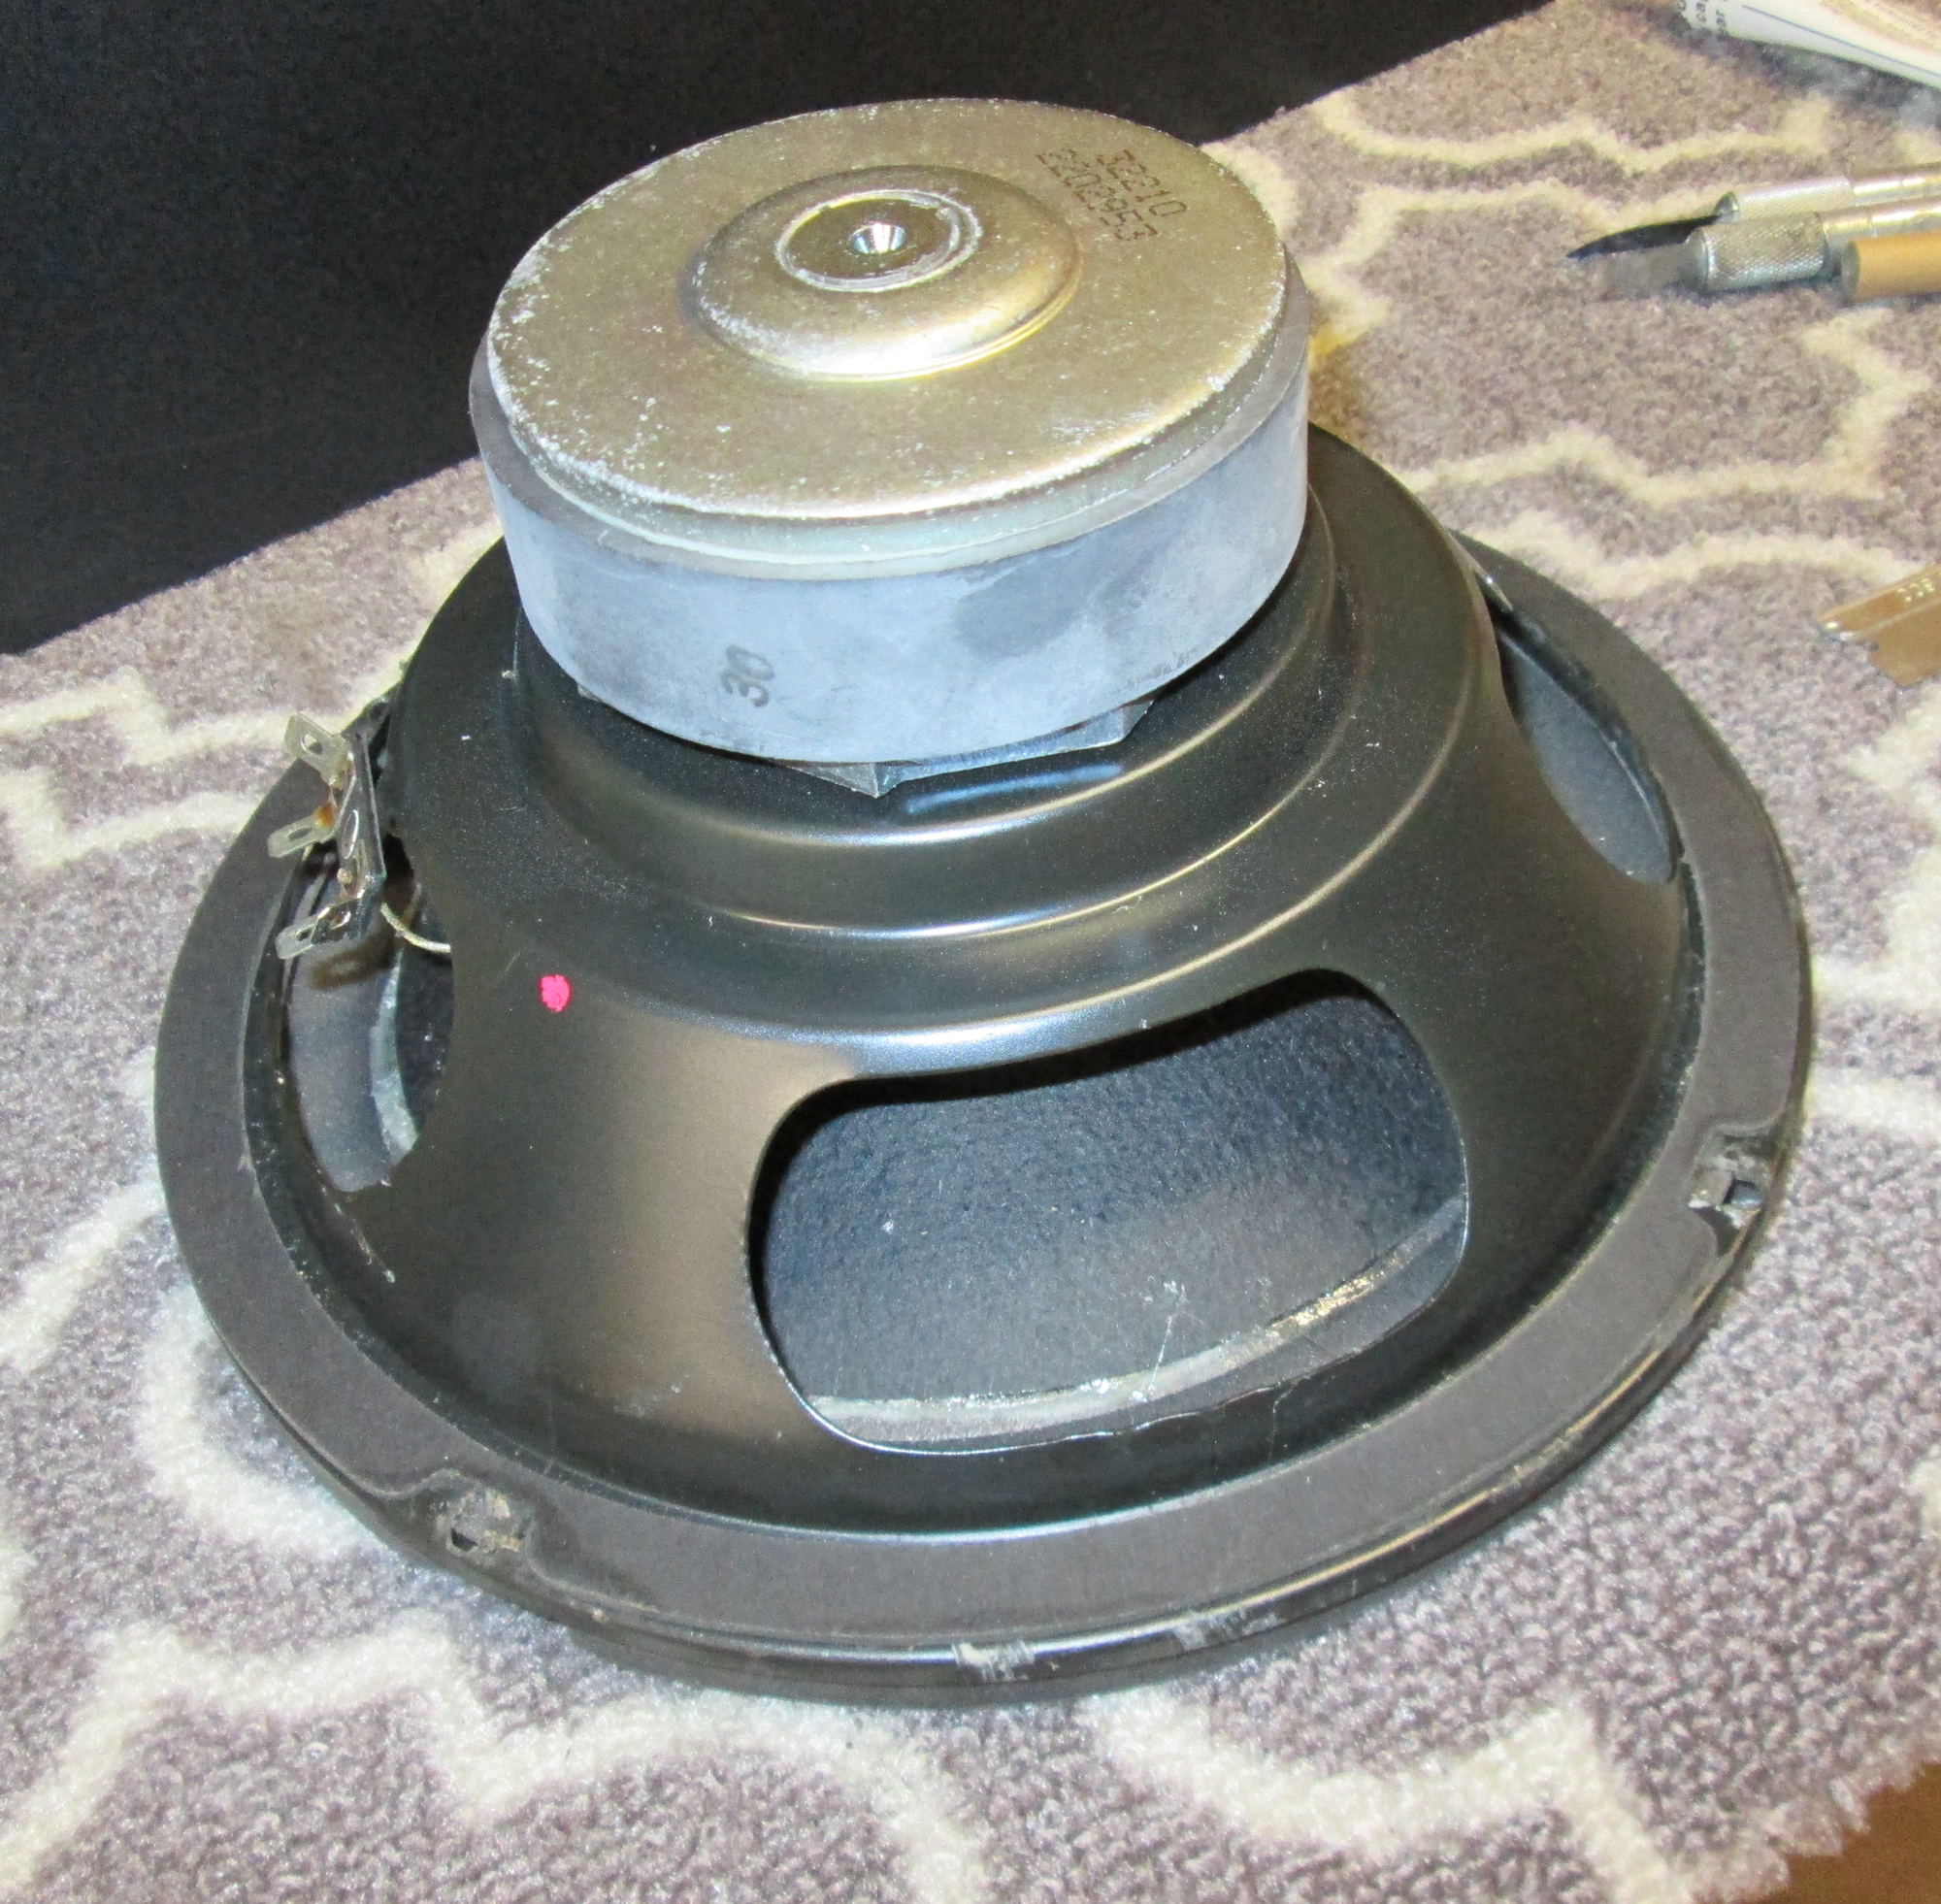
Ever wonder what a woofer looked like? No? Well, here is an 8″ woofer from a Advent Graduate, circa 1980. That round thing on the top is a magnet, and a mighty big magnet that is, too.
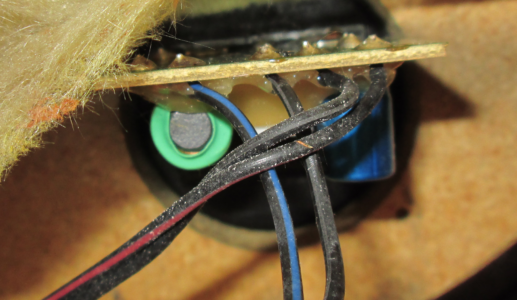
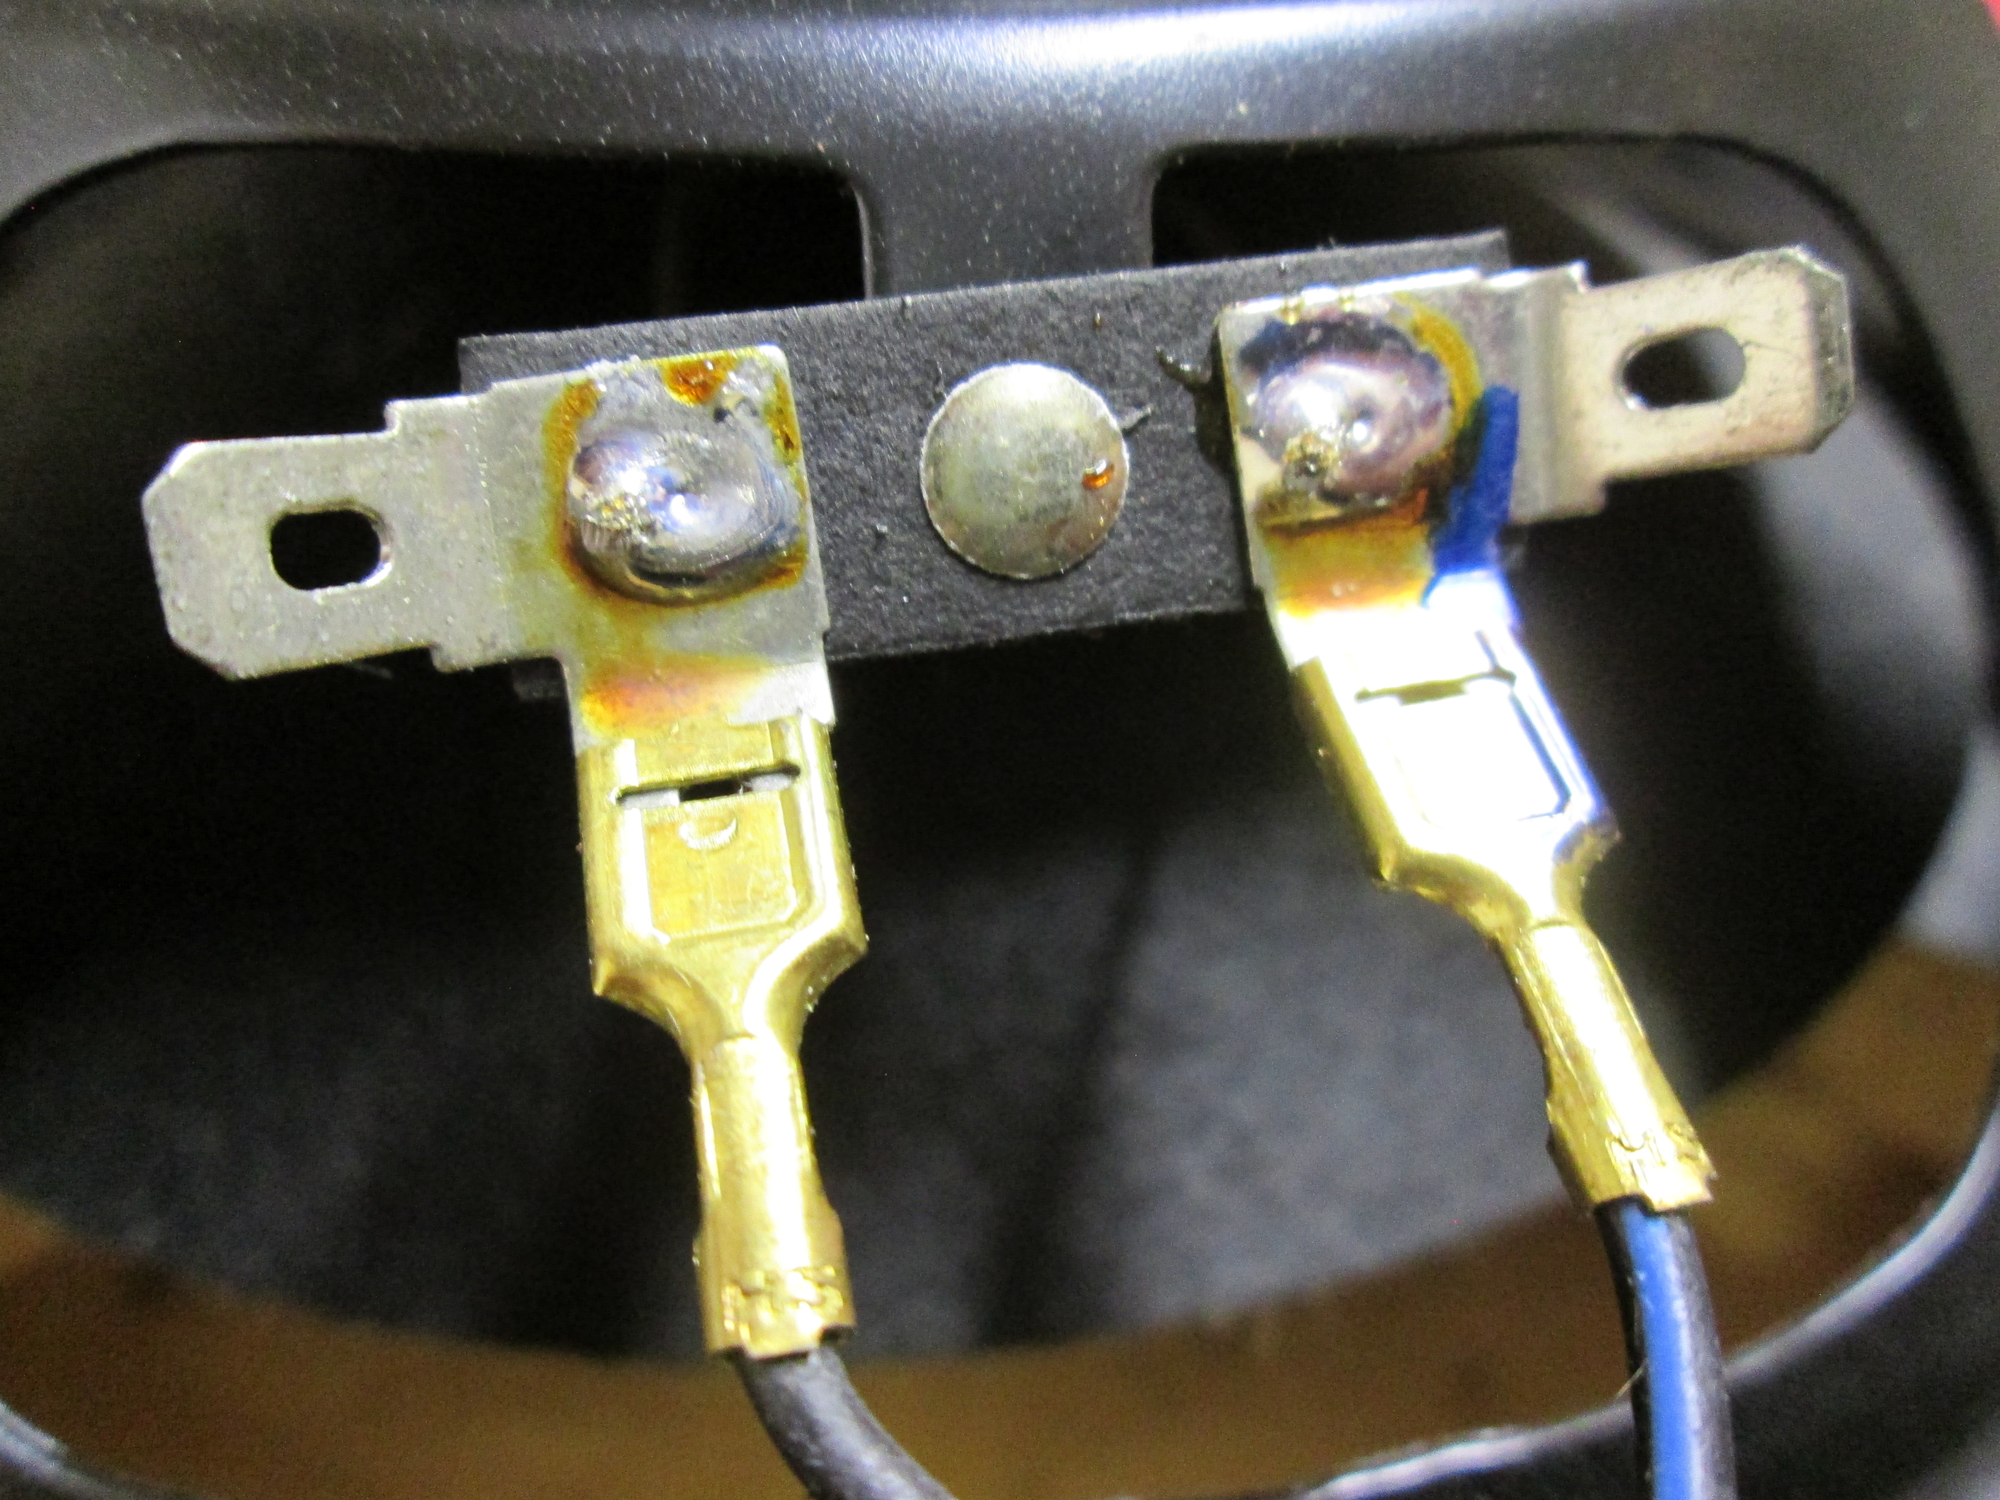
I forgot to mention a very important thing. The connections for the speaker wires are not always clearly marked! How they knew what to connect where back in the factory often baffles me. I like to mark the wires and the connection terminals as you can see in the photo on the right.
I prefer to use a blue marker because speakers almost always use red and black to denote right and left or positive and negative. There is the chance of confusing black and red marks. It is harder to make a mistake with blue.
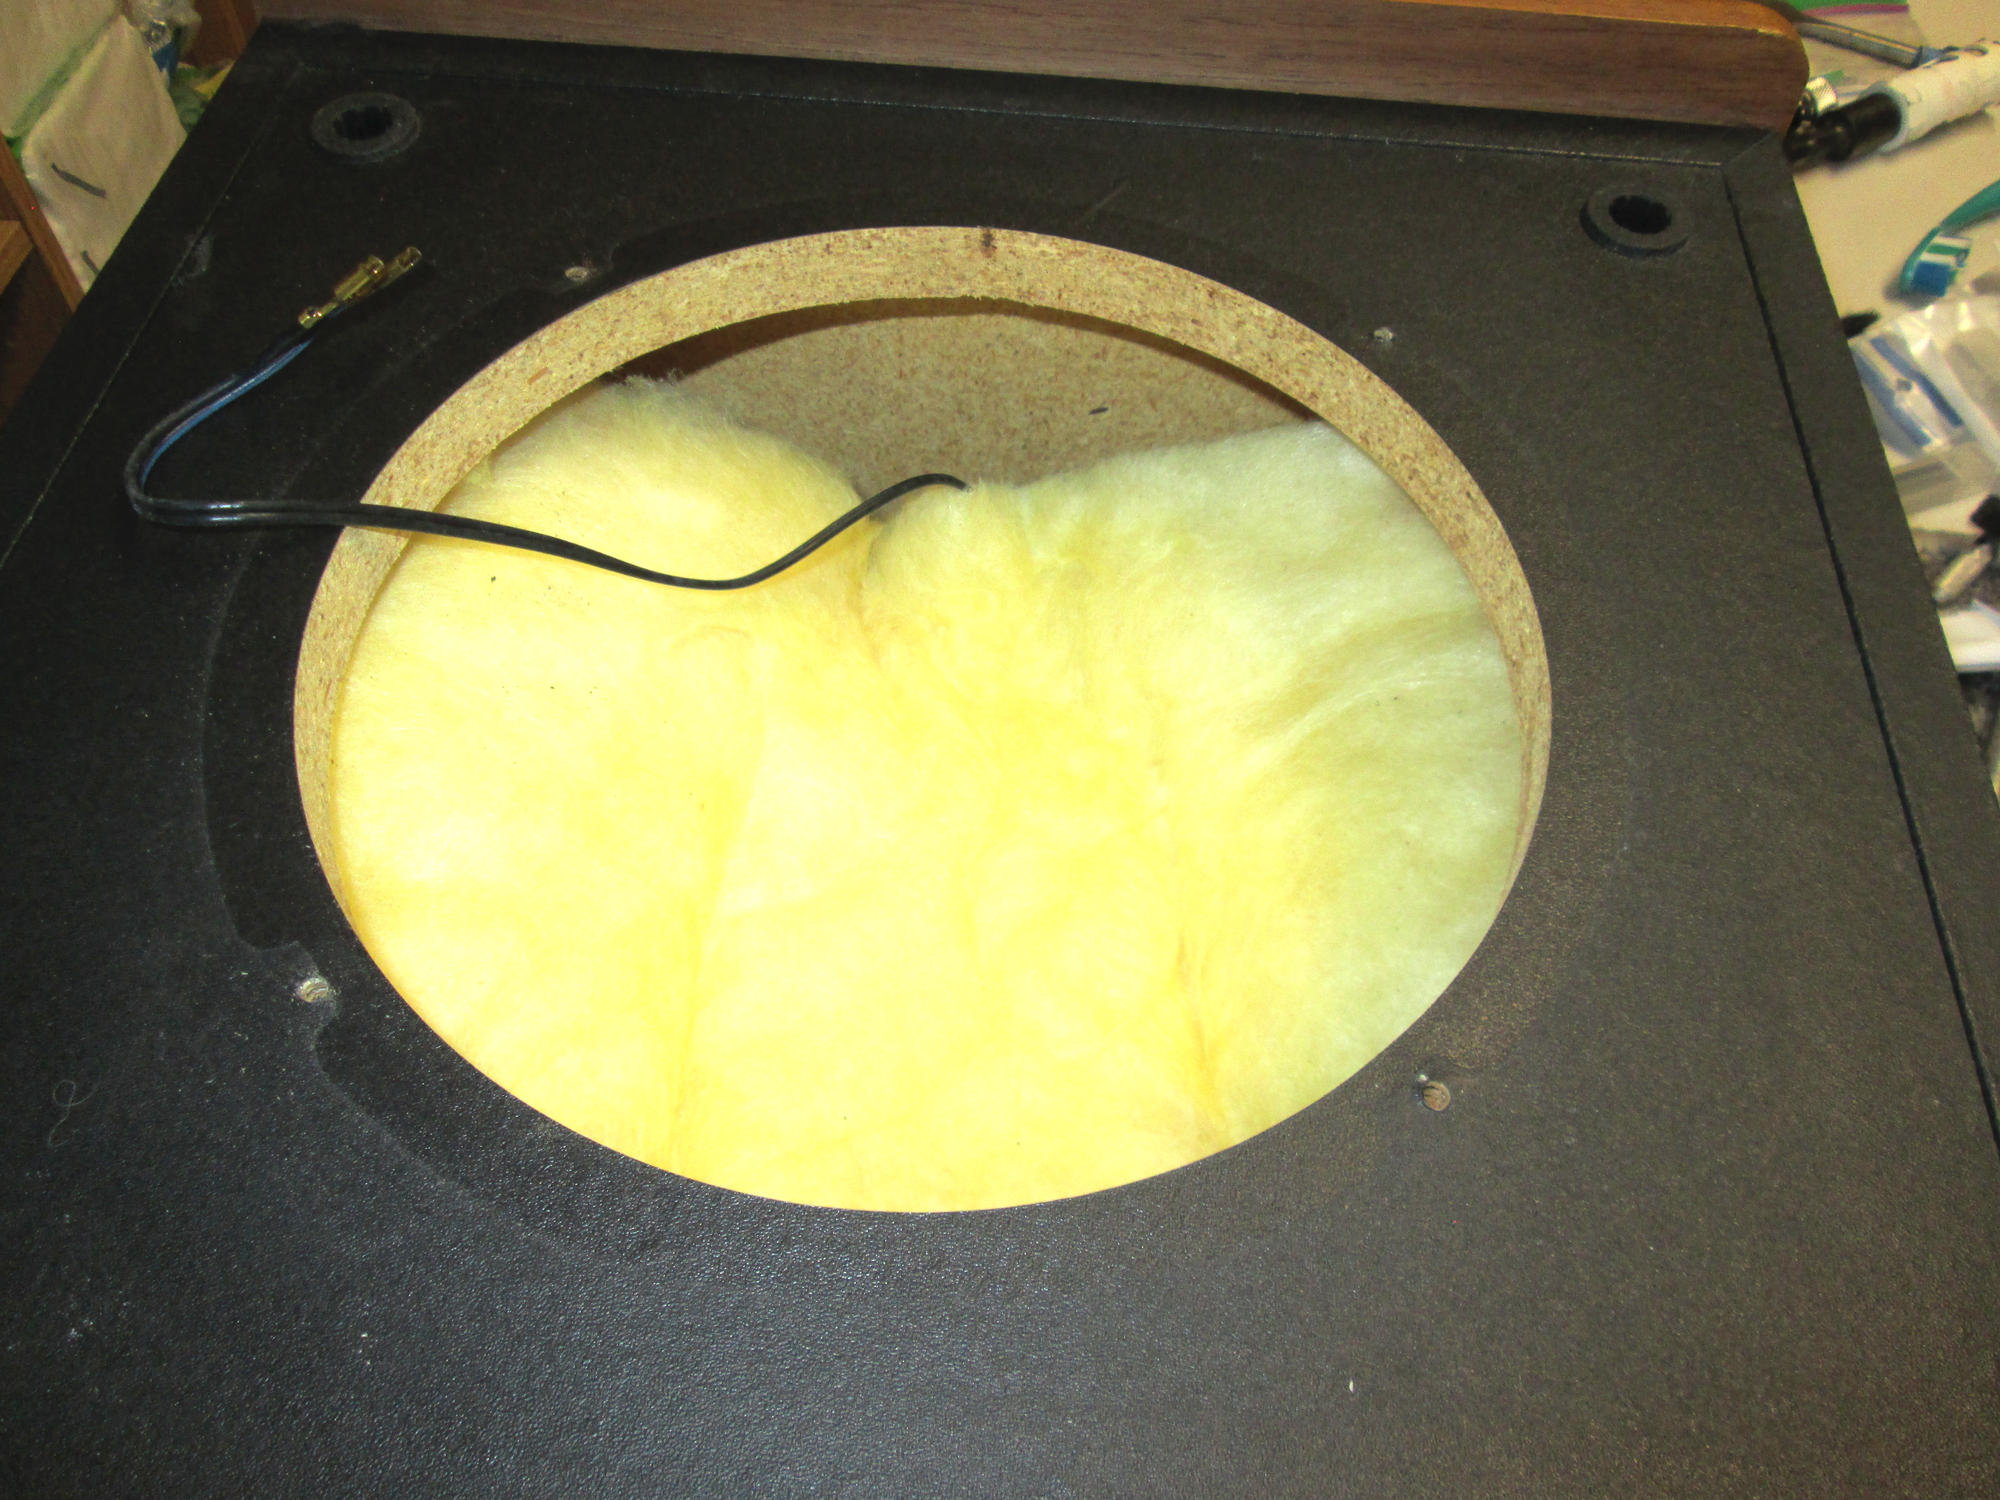
The inside of the typical speaker cabinet is rather unimpressive. Here we see the wire that connects the electronic crossover to the woofer and the anti-echo-reverb-and-icky-noise insulation. It looks like somebody went to The Home Depot and picked up some sale insulation to jam into the box. But, there you have it.
Be sure to examine the inside of the cabinet for stray foam and other “stuff”. A few years ago I refurbished a pair of Tannoy speakers and had to get the mouse poop out. You never know!
You can read about that Tannoy project starting right here.
Most speaker foams are relatively inexpensive, at least when compared to other components. There are a number of vendors on the Internet and their products seem to be similar. But, the quality of the accessories, so to speak, can vary. The vendor I use provides a special speaker glue that is designed specifically for the job. They also have clear printed instructions and excellent videos.
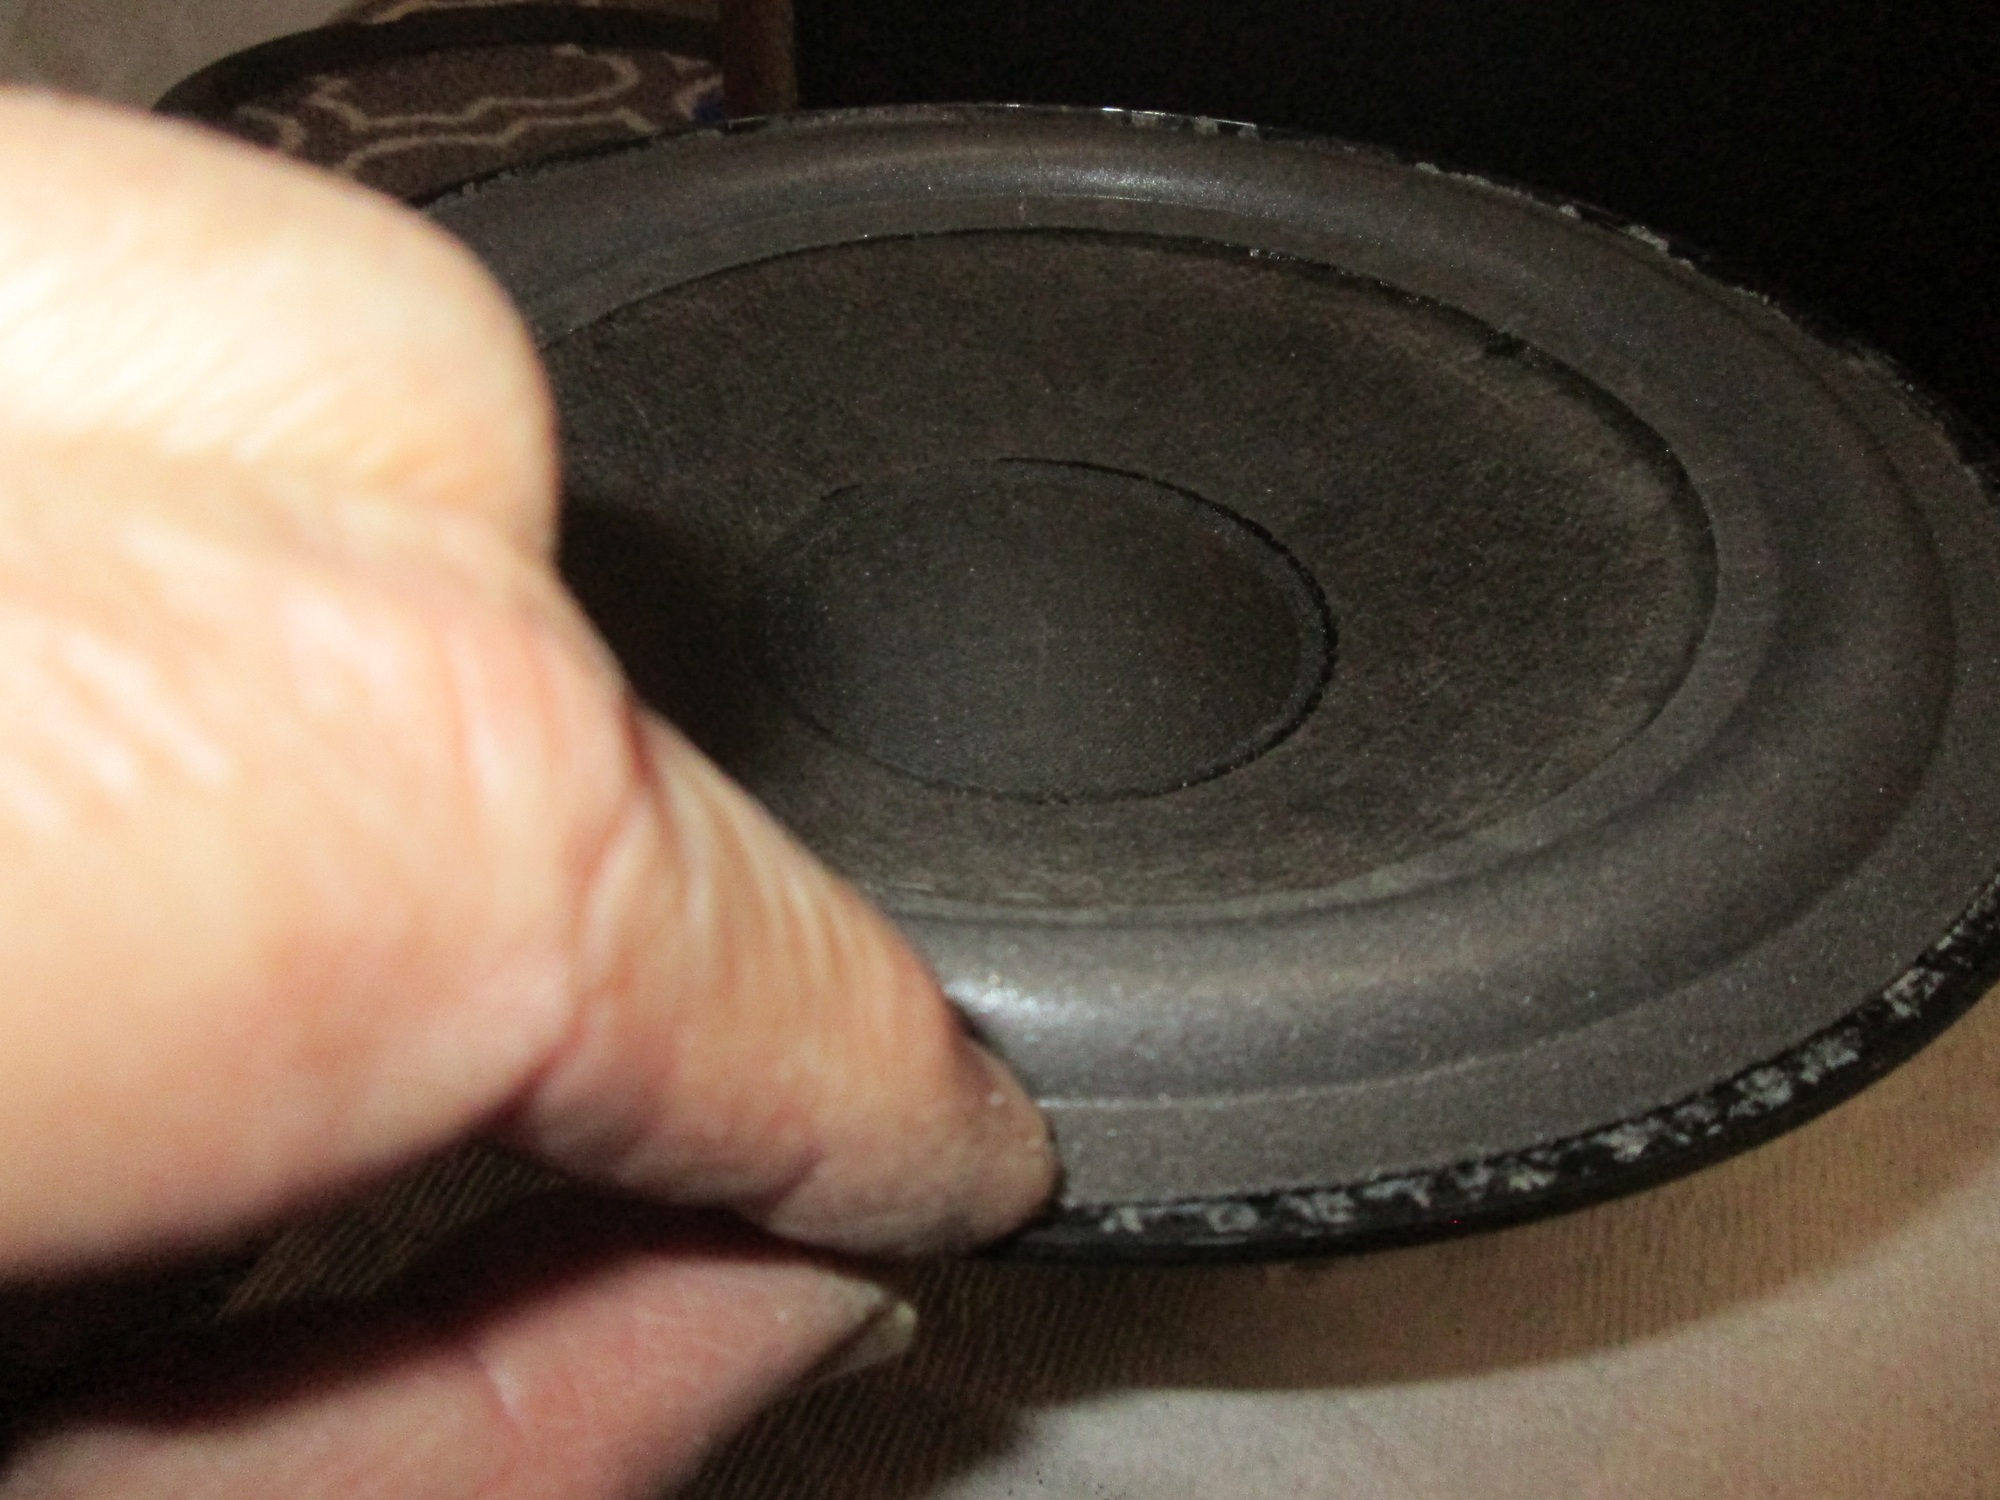
Be sure to follow the instructions carefully. A mistake can be costly. You will have to remove the remnants of the old foam and glue from the paper cone and the metal frame. Then you need to install the new foam in the proper manner. It isn’t hard, but it can be tedious. In this photo we see the foam ring glued to the paper cone, but not yet attached to the metal frame of the woofer.
With the glue from the vendor I prefer to use I have to work my way around the ring and press and pinch it onto the frame. The same with the paper cone. Eventually the glue starts to set up and the foam will adhere. Don’t try to rush this. If you misalign the foam you can wreck the speaker. Follow the instructions and you should be OK.
Before I put the speaker back together I like to check the crossover network assembly. I want to make sure that there are no damaged components, so I look for over-heated or leaking capacitors, damaged wires, and that sort of thing. This crossover looks super-duper, so there’s no need to be concerned.
Some folks on the Internet talk a lot about “re-capping”. Recapping is the replacement of capacitors. Most folks don’t realize that capacitors have a life-span. Eventually they will fail. But, it is not necessary to replace capacitors every time. Old or faulty “caps” can cause degraded sound. But, just because your speakers are old (if you are a collector they probably are) doesn’t mean the caps are bad.
I have a pair or nearly ancient B & O speakers that hadn’t been used in 40 years when I got them. They are like new, and it is highly unlikely that they need new capacitors.
In the next post we will see how the finished Advent Graduates look, and if we are lucky, how they sound.
