A series of posts ending a couple of weeks ago discussed how I refurbished a pair of Advent Graduate speakers. After thorough cleaning and re-foaming, the only thing missing was the grill badge for one of the speakers. You can see this problem in the photo on the right where the badge is clearly gone on one of the speakers.
In this day and age it is fairly rare to not find some sort of replacement part, especially with eBay and so on. But in this case these little logo badges are impossible to find. I was eventually able to turn up a pair of entire grill assemblies, complete with badges, but there is no point in buying those when all I needed were the badges.
I made a search for 3-D printer files so that I could have a badge made, but no luck there either.
The solution was to go “old school” and duplicate the badge by making a mold and pouring a resin to create a new one.
The first step was to make a negative mold out of silicone mold-making compound. This is actually fairly easy. You combine parts A and B of the liquid compound and give the resulting goo a thorough stir.
After stirring I poured the goo into a little plastic cup that originally held a personal service of hummus. I then carefully placed the original logo face down into the goo making sure that it did not sink.
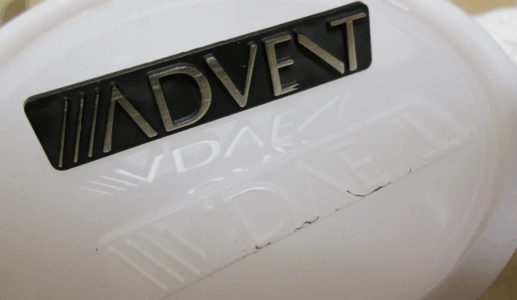
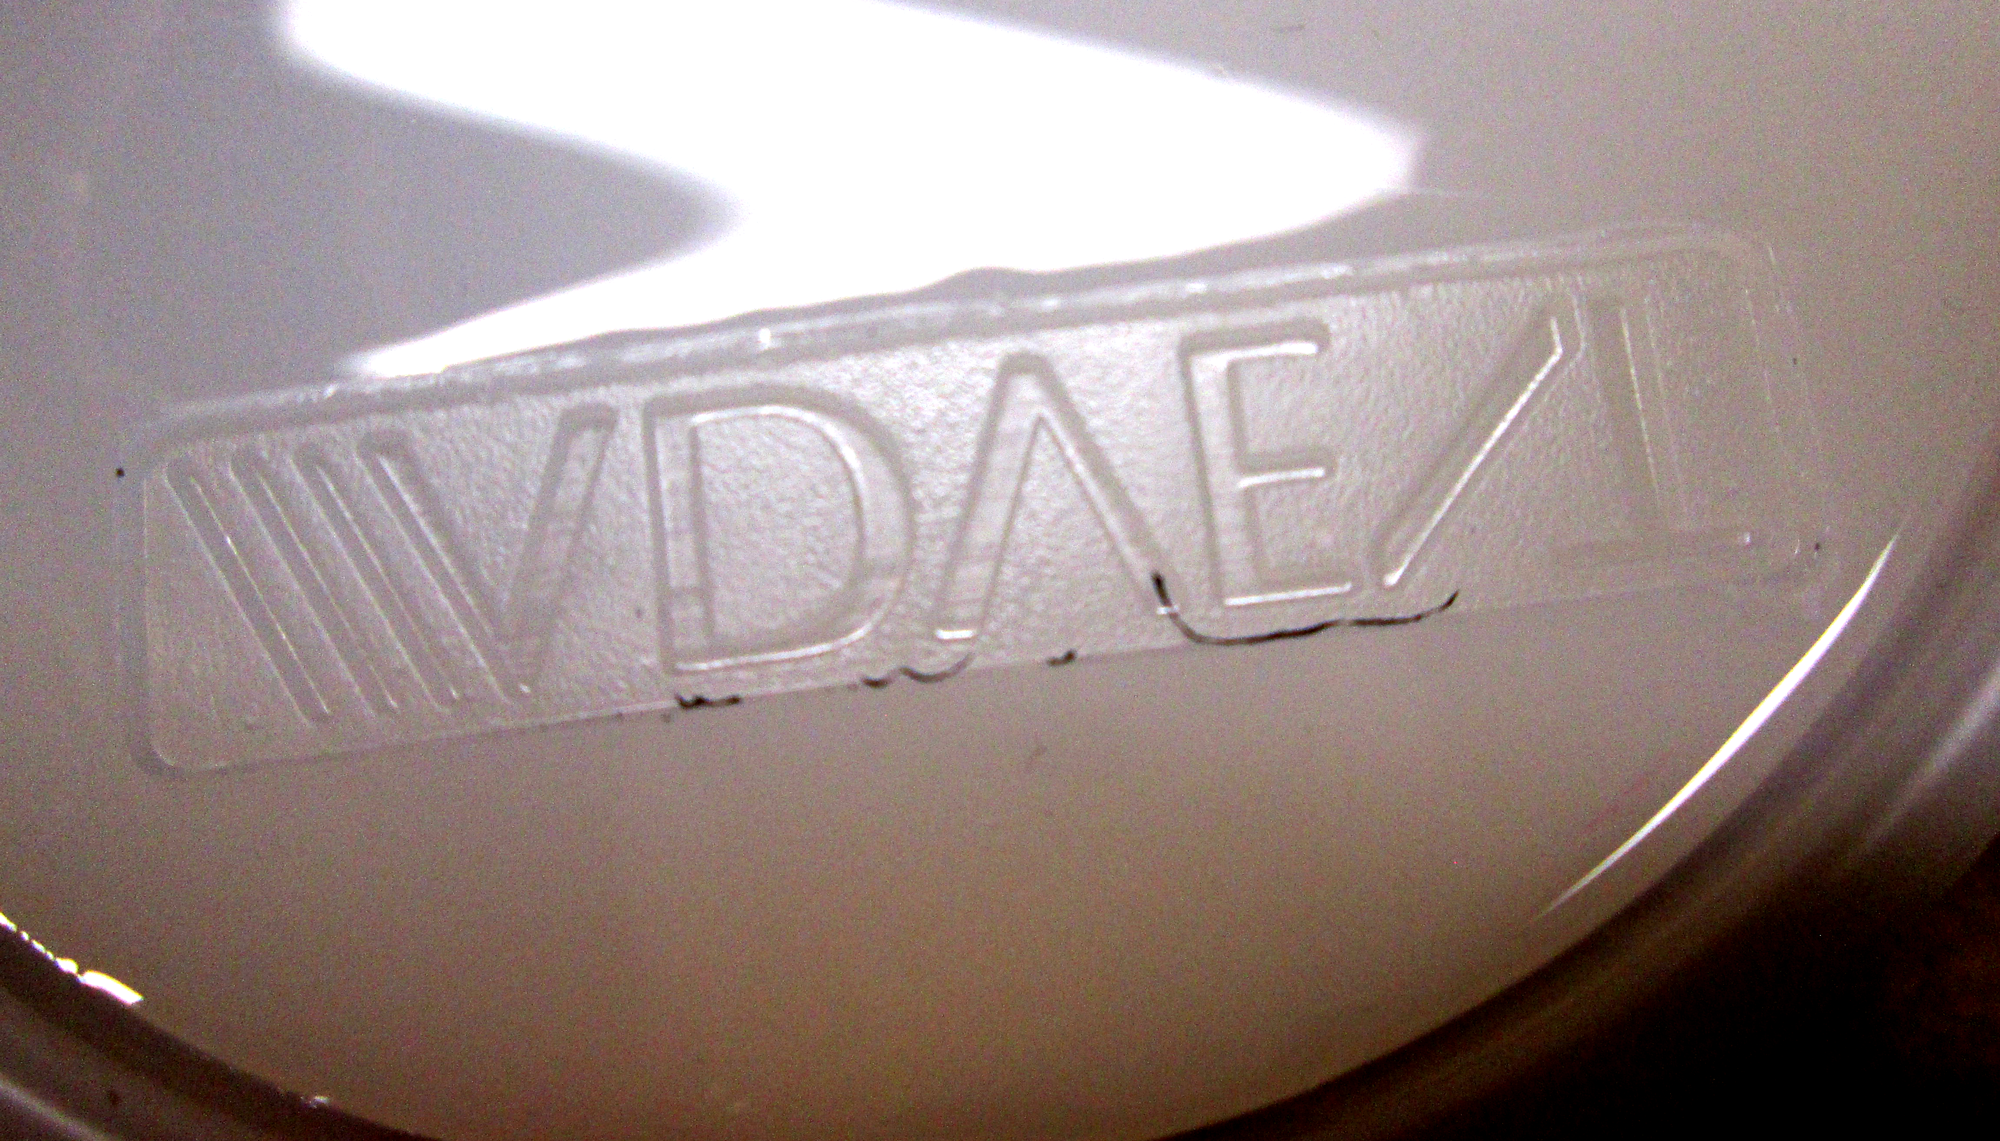
Several hours later the silicone had set enough for the original badge to be removed. On the right you can see the original next to the negative mold.
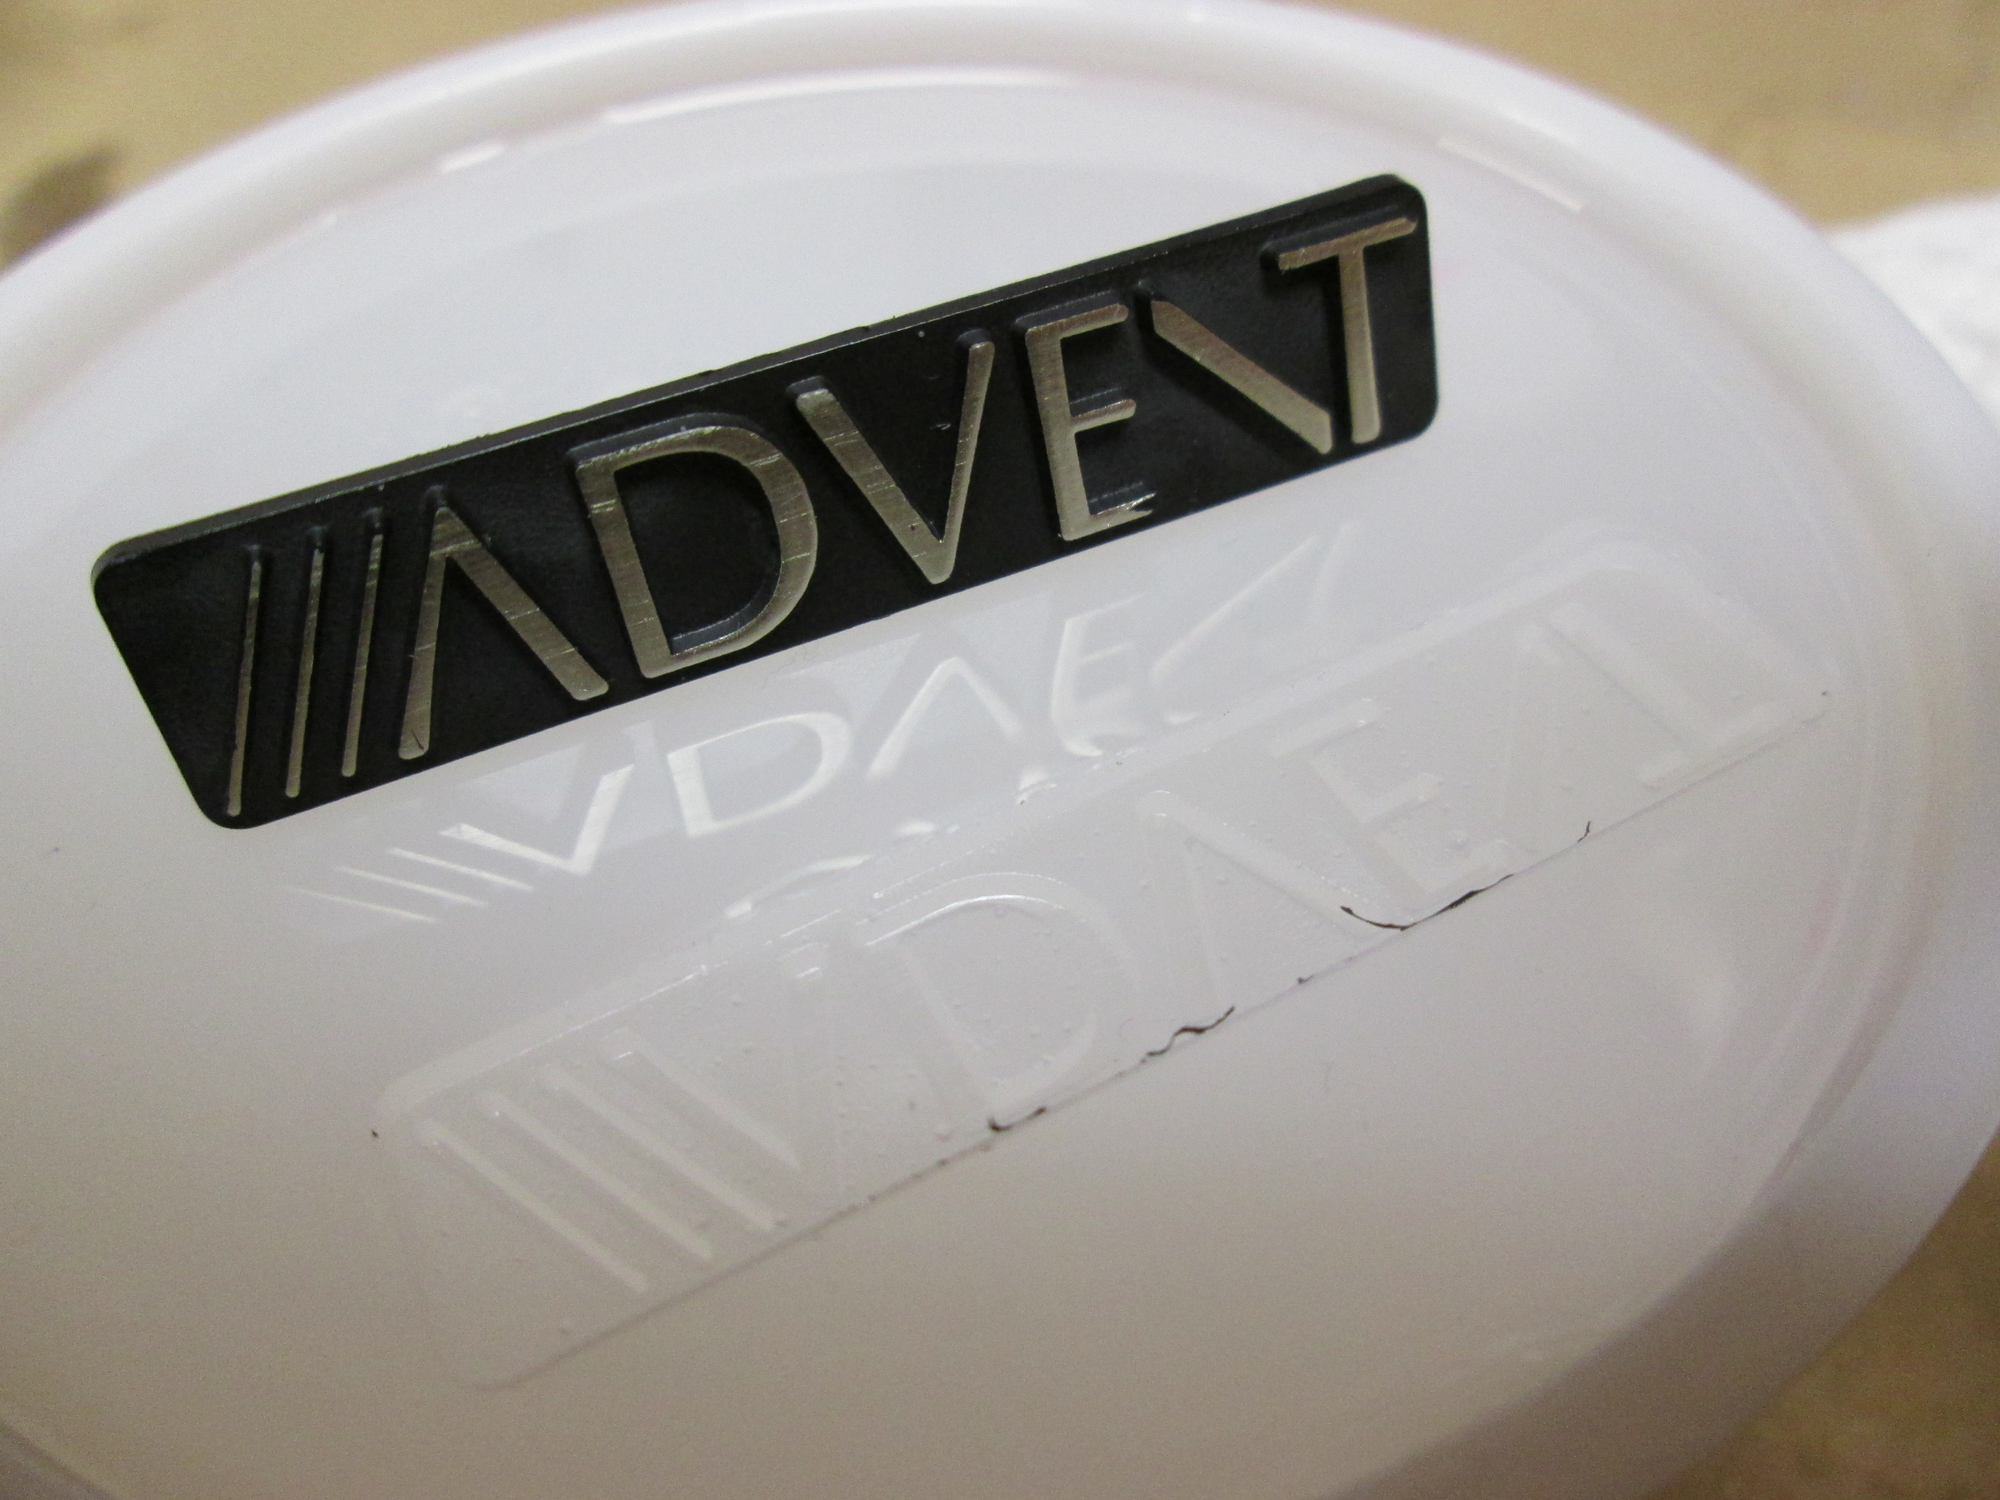
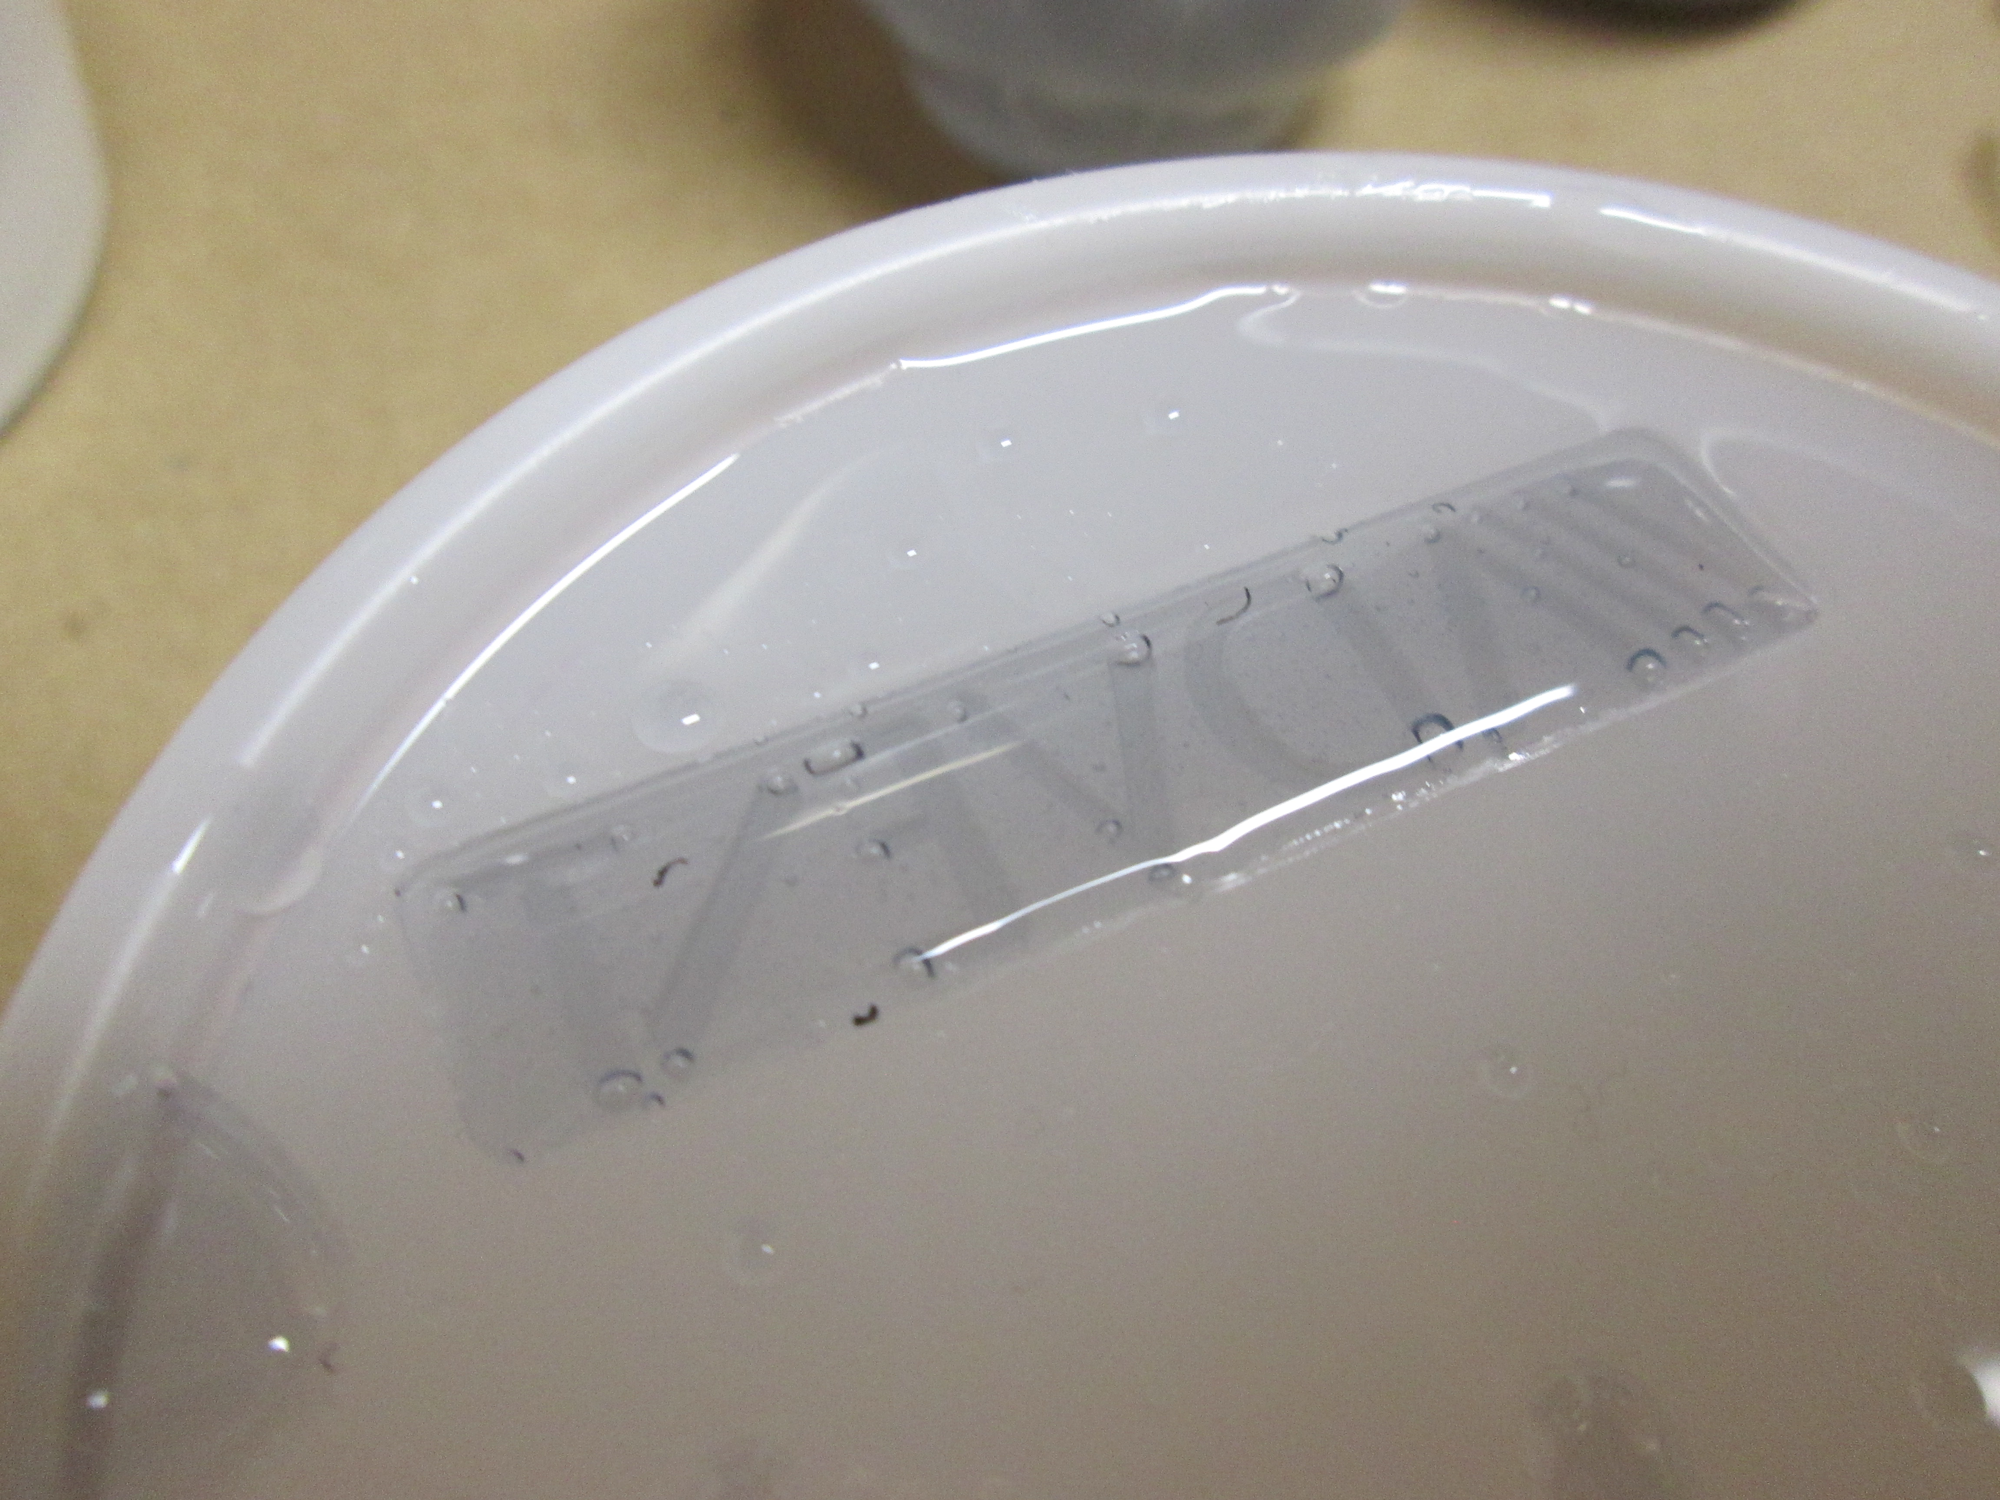
This is a little better close up of the negative mold. The one thing that I had to watch for was bubbles that got trapped under the original piece. It took two tries to make the mold without the bubbles. The most effective method was to “double dip” the original. I dunked it in the silicone goo, pulled it out and let the bubbles escape, and then placed it back into the silicone.
The trickiest part of the whole process was to pour the resin into the mold in such a way that bubbles were not created. Oh, holy cats, bubbles were my nemesis on this project!
Resin pouring requires certain techniques, and one of those is to be sure the resin sets slow enough for the natural bubbles to rise up and dissipate. In the photograph on the right you can see that the bubbles in the resin have not gone away yet.
It takes quite a few hours for the resin to set. It will tend to be flexible for a long time, so you can’t be in a hurry with this little project. In fact, it took about 24 hours from initial pour to reproduction removal, then another day for final set and painting.
Here you can see the new badge being lifted out of the silicone of the mold. You can also see that this badge is a no-go because bubbles stuck to the letters of the badge!
Well, now, here it is. The reproduction badge has been removed and you can see the voids caused by the nasty bubbles. There’s only one thing to do, and try it again.
I used on of the faulty badges to practice the painting of the reproduction. There is no point in wasting even a bad pour, so this faulty piece was still useful to help figure out the proper painting technique.
After all the resin pouring and re-pouring, plus the painting and other experiments, putting the reproduction logo badge on the front of the speaker was very satisfying.
Here you can see the badge in place, and as long as you don’t get up too close it looks pretty good. Viewing it from a normal distance does not reveal any flaws and most folks will never guess that this was not original.