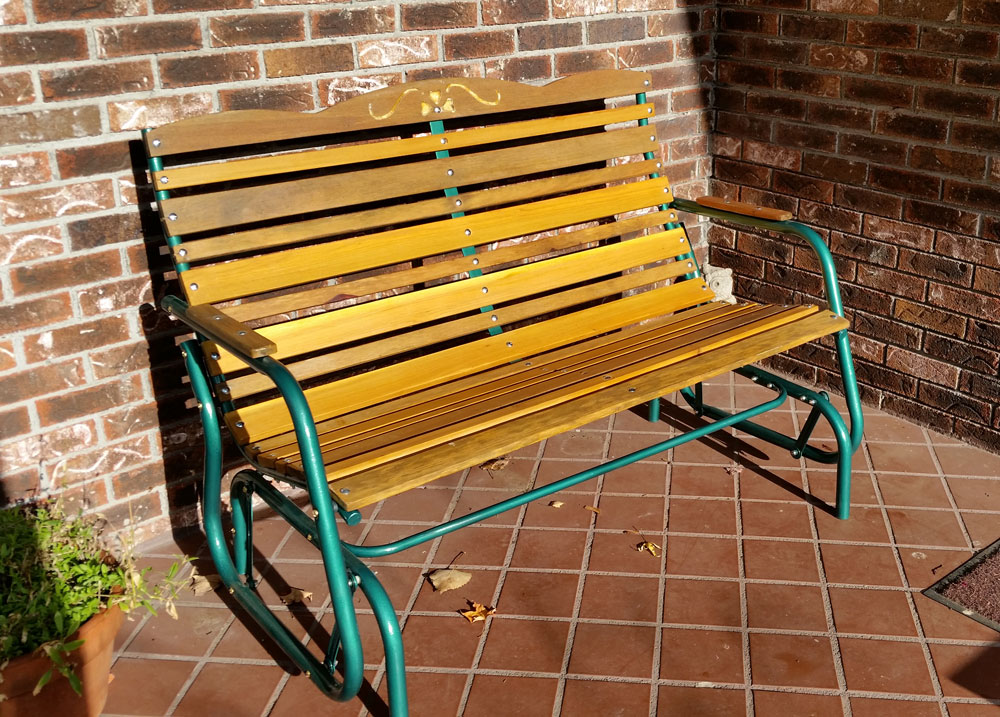
Well, it is finished! The glider bench is all done. As you can see from the photo on the right, the bench is all done and ready for relaxation. What a perfect piece of outdoor furniture!
The final steps for the glider were fairly straight-forward. The metal tubing from which the frame is made was painted with a rust-resistant paint that features a hammer finish. The color, deep green, had to be special ordered because it is not available in the stores. Other hammer finish colors, such as shades of brown, are available, but not this green. The color is similar to the original color, but not quite as dark.
The hardware that is used to secure the frame parts is brass. The original brass bolts had straight slot heads, but the new bolts have combo heads that incorporate both straight slots and Phillips patterns. Lock nuts with nylon inserts keep the frame from coming apart when the glider glides.
The wood slats are secured to the frame with standard-finish 1/4″ carriage bolts and lock nuts. The same is true for the wood arm rests. Some of the slats were replaced, as mentioned in the previous posts, and those slats are cedar.
The paint dries, according to the label, to the touch in 15 minutes, and can be handled in about 90 minutes. We allowed 2 to 3 hours for handling and applied 2 coats of paint with 15 to 30 minutes between coats. Experience has caused us to discover that following the label instructions exactly results in the best finish.
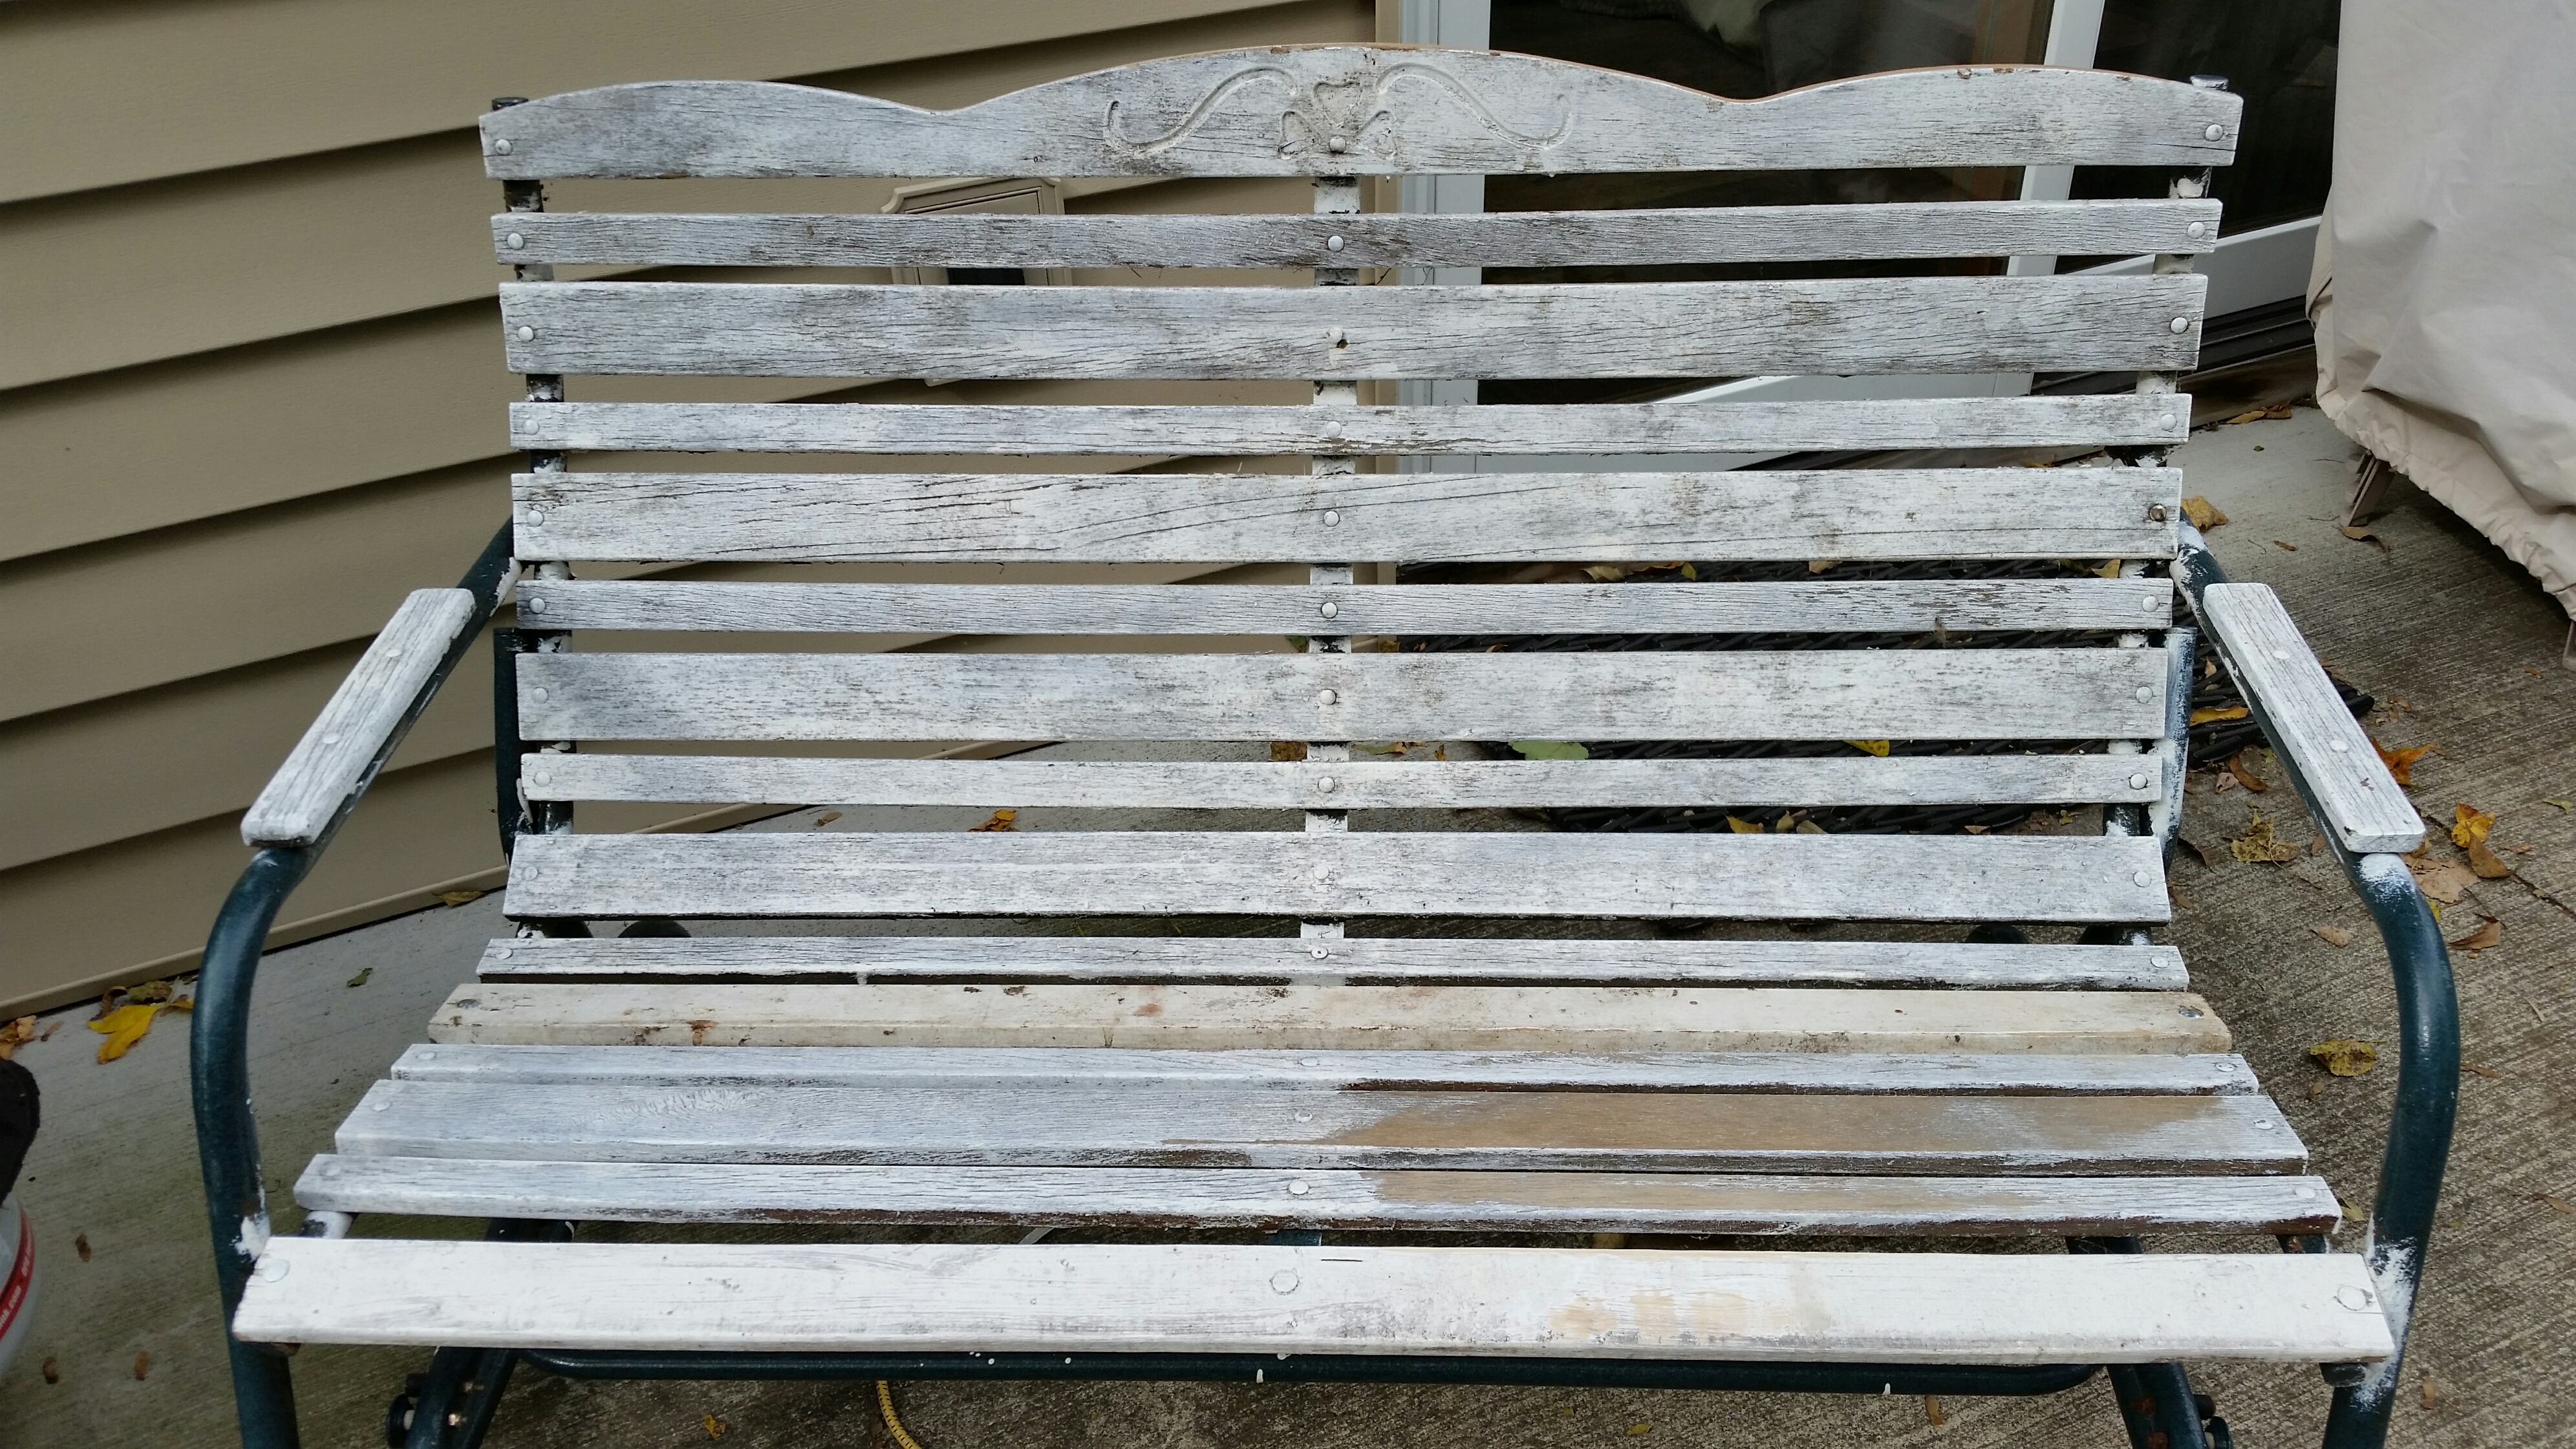
The hardest part of the whole thing was assembling the wood slats to the frame. It required quite a bit of strong-arming to get the parts aligned correctly, and a roofer’s square was very handy to make sure the bench wasn’t tilting to the right or left. However, we have to admit that disassembly was not a picnic, either. Many of the nuts came off the bolts, but an awful lot were rusted in place. They required careful application of a metal cutting disk.
The rehabilitation of the bench was worth the work. It is quite comfortable and I am convinced that we will enjoy gliding when the weather warms up a bit.